|
Archive Databases |
  
|
| Show/Hide Hidden Text |
|
Archive Databases |
|
| Show/Hide Hidden Text |
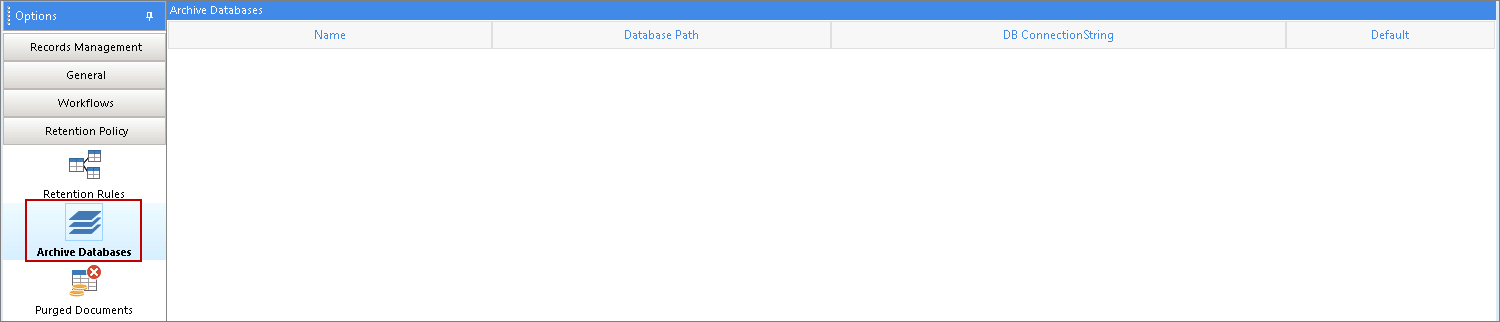
The data that will be archived using the Retention Rules will be stored in the Archive Database. This database can be used for retrieving archived data. Here, you can create new or modify existing databases that will be used for storing the archived data.
Note: |
If you are using PaperSave on Cloud then you will not be able to view Archive Databases section within PaperSave Settings. Moreover, there is no way to Archive Database for PaperSaveCloudTM. |
 |
| Click on image to magnify/shrink |
To create an Archive Database follow the steps below:
1. Click Retention Policy tab in the PaperSave Settings.
2. Click Archive Database. The Archive Databases section will open.
Click on image to view magnify and shrink print screen.
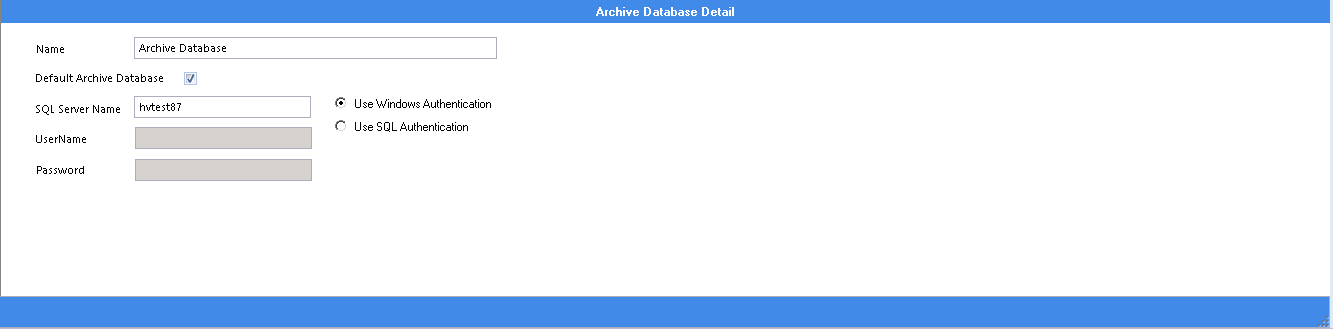
3. Click Add Archive Database on the toolbar. The Archive Database Detail section will appear at the bottom of the window.
4. Type the name of the new Archive Database in the Name box.
5. Select the "Default Archive Database" check box if you want to make this Database the default Archive Database for PaperSave.
6. Type the name of the server on which you want to create the new Archive Database in the SQL Server Name box.
7. Select the type of authentication to be used (i.e. "Windows Authentication" or "SQL Authentication").
8. Type the user name and password to be used for the authentication. This is required only if you select "Use SQL Authentication" in the above step.
Click on image to view magnify and shrink print screen.
9. Click Save Archive Database to save the database.
To edit an existing database follow the steps below:
1. Open the PaperSave Settings.
2. Click on the Retention Policy tab.
3. Click Archive Databases which will display the list of databases.
4. Select the database to be edited and click Edit Archive Database on the toolbar.
5. Make the required modifications and click Update Archive Database to save the changes.
Note: |
||||||||
To reduce the time of the Update Interval:
C:\Program Files (x86)\PaperSave\Services\PaperSave Retention Policy Server\PaperSave.Service.RetentionPolicyServer.exe
|