|
Barcode Test Utility |
  
|
|
Barcode Test Utility |
|
This utility is used to test the barcode generated coversheet for attaching documents using the ScanLater option. You can test the barcode generated coversheet from the Workflow Queue, ScanLater, or PaperSave ReCapture.
To open the Barcode Test Utility, click Barcode Test Utility under the Utilities tab in the PaperSave Settings. The PaperSave Barcode Utility dialog box will open. There are three options available:
| • | Apply Dilate: Selecting this option will sharpen the borders of the barcode while testing it. |
| • | Apply Color Depth: Selecting this option will adjust the color depth of the barcode while testing it. |
| • | Apply Erode: Selecting this option will adjust the bit value of the border of the barcode while testing it. |
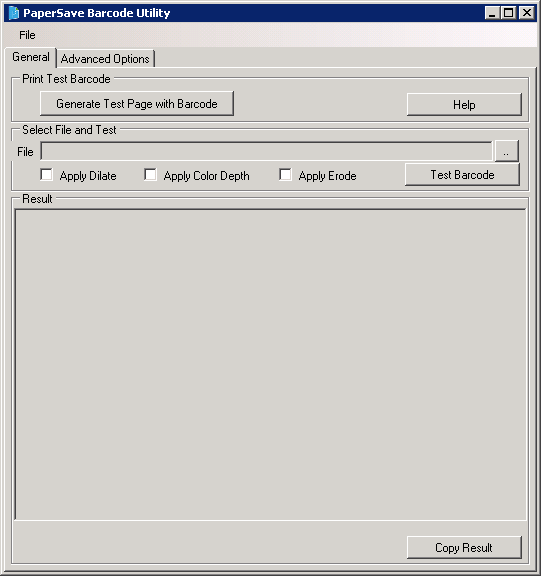
This utility allows you to generate a test page with a barcode by clicking Generate Test Page with Barcode. This option helps you check whether the utility is working properly or not.
To test the barcode CoverSheet:
1. Click Browse icon. The Open dialog box will appear. Select the Barcode File to be tested.
2. Click Open.
3. Select the appropriate options (i.e. Apply Dilate, Apply Color Depth, or Apply Erode).
4. Click Test Barcode.
5. Click Copy Result to copy the result set.
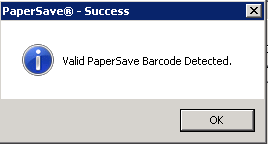
If the Barcode Test is successful, then the following message will appear.
The following snapshot shows the Advanced Options tab. Here, in the ScanFirst, ScanLater, Recapture, Upload Document and Drop point text boxes, values come from the Configuration. You can modify the values just to test the Barcode, it will not affect the Configuration.
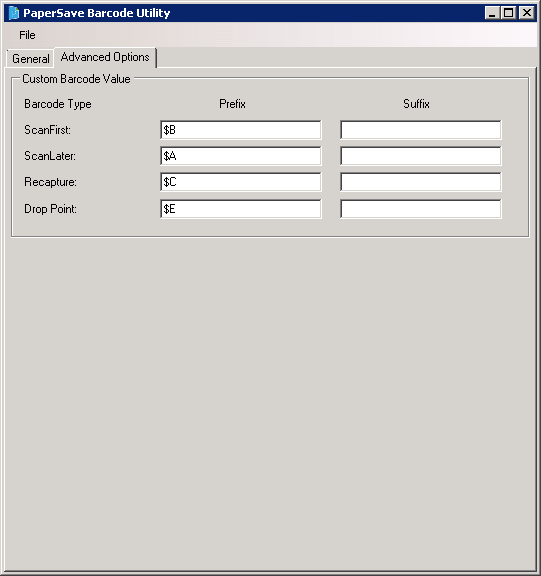
Note: |
Barcode Test Utility will only support the values that are entered in configuration values. |