|
Example |
  
|
| Show/Hide Hidden Text |
|
Example |
|
| Show/Hide Hidden Text |
Here, we will see the steps involved in creating a Workflow.
1. Open the PaperSave Settings and select "Workflows," scroll down to the appropriate Document Type for which you will add the Workflow. Select Document Type and click Add Workflow button available in the ribbon.
 |
| Click on image to magnify/shrink |
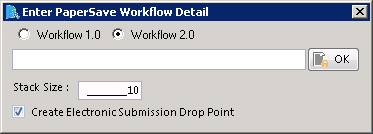
2. Below displayed window should open. Select the Workflow Type and enter the name in the available text-box and click OK.
3. Workflow Designer will open. Drag and drop the State/Step Activity for the Initial State/Step. (This must be named “Initial.”)
 |
| Click on image to magnify/shrink |
4. Drag and drop the Review State/Step Activity (use preset Container). You can name this "Review" (and the events "Review_Approve" and "Review_Reject").
 |
| Click on image to magnify/shrink |
5. Add another Review State/Step Activity from toolbox. You can name this "Rejected" and the event "Rejected_Approve."
 |
| Click on image to magnify/shrink |
6. Add Data Entry State/Step Activity. You can name this "Data_Entry" (and the events "Approve," "Reject," and "Associate").
 |
| Click on image to magnify/shrink |
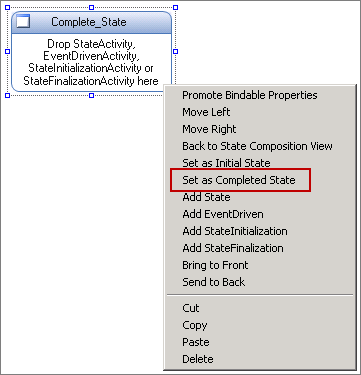
7. Add State/Step Activity and name "Entered." Right-click and select "Completed State" from the menu.
 |
| Click on image to magnify/shrink |
8. You can remove Rejected events from Rejected State/Step and Data Entry, since those don't need the Reject option.
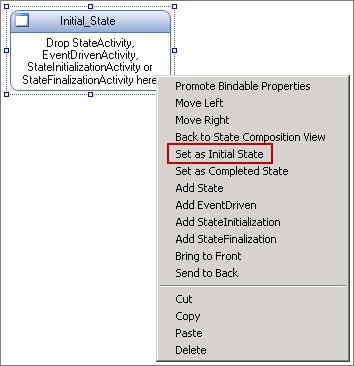
9. Set Initial as the Initial State/Step by right-clicking and selecting this from the menu, unless you already did this when you created the Initial State/Step.
10. Click Compile Workflow to test the mapping of the Workflow created.
11. Click Publish Workflow. Confirm your choice in the message boxes that appear.