|
Installing PaperSave Settings |
  
|
| Show/Hide Hidden Text |
|
Installing PaperSave Settings |
|
| Show/Hide Hidden Text |
To install PaperSave Settings, you need to click on PaperSave Settings link available on the PaperSave Application System Start Page as displayed in below screen.
 |
| Click on image to magnify/shrink |
Once PaperSave Settings is installed on your system, you can access the application by clicking on the shortcut icon available on your desktop as displayed below or by navigating through below path:
Go to Start menu>> All Programs>> PaperSave>> PaperSave Settings.
You will be able to view PaperSave Settings Login window as displayed below. Enter your password and click Login to login in the application. To change the password, check Change Password after login checkbox and then click Login.

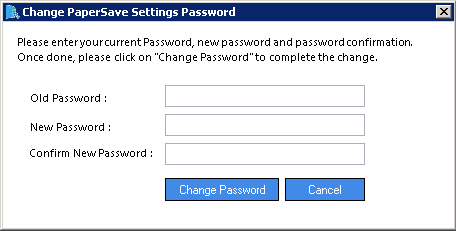
Change PaperSave Settings Password prompt opens, if you have checked Change Password after login check-box. You need to enter the Old Password, New Password and Confirm New Password in the respective text-boxes. Then, click on Change Password button to confirm the action. Click on Cancel button to cancel the operation.
PaperSave Settings window will open as displayed below.
 |
| Click on image to magnify/shrink |