|
PaperSave Web Part |
  
|
| Show/Hide Hidden Text |
|
PaperSave Web Part |
|
| Show/Hide Hidden Text |
Note: |
||||||||||
|
There are two methods to deploy the PaperSave Web Part:
1. Run the PaperSave Rapid Configuration Utility for SharePoint 2010/2013/Online
2. Run the PaperSave Web Part Setup
Deployment Method 1: Run the PaperSave Rapid Configuration Utility for SharePoint 2010/2013/Online
The PaperSave Rapid Configuration Utility for SharePoint 2010/2013/Online was created to provide an easy and seamless way of deploying SharePoint sites that model the hierarchy of Host Application Companies (Databases), Modules and Transaction Types. These sites provide a logical way for users who do not have access to the Host Applications that PaperSave is integrated to, to navigate Host Application data in meaningful way. The end result after deploying sites with the PaperSave Rapid Configuration Utility for SharePoint 2010/2013/Online is a site hierarchy that provides those non-host users with the facility to browse host application records and get to documents by extension in a similar fashion to how host users can browse host application records within the host application user interfaces and get to those same documents by extension.
Follow the steps outlined in the user guide for the PaperSave Rapid Configuration Utility for SharePoint 2010/2013 to deploy sites that model the host application hierarchy into any target SharePoint 2010/2013/Online root site. Click here to access the user guide for the PaperSave Rapid Configuration Utility for SharePoint 2010/2013/Online.
Deployment Method 2: Run PaperSave Web Part
Steps to run PaperSave Web Part setup:
1. Download the PaperSave Web Part setup from FTP. Unblock (if blocked) and extract the setup file. Double click on the PaperSave WebPart setup.
2. Wait until the extraction is completed.
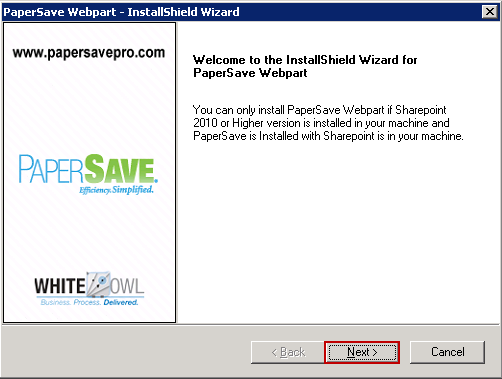
3. Welcome wizard will open. Click on Next to continue.
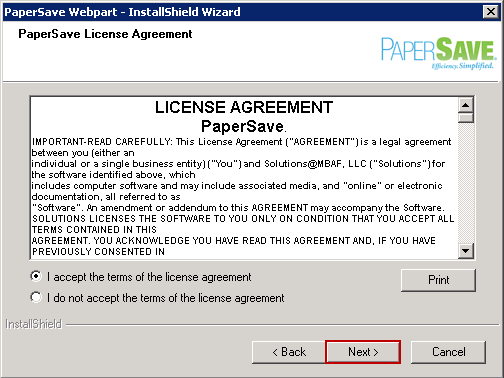
4. Accept the license agreement and click Next.
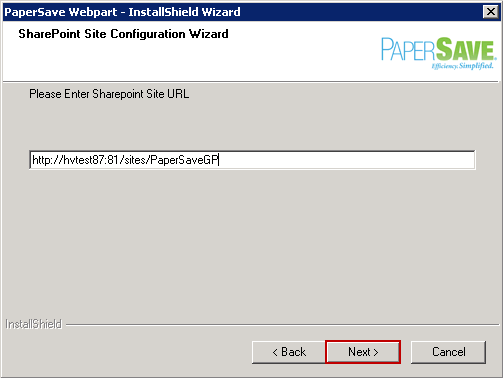
5. Enter the SharePoint Site URL on which Webpart needs to be deployed and click Next.
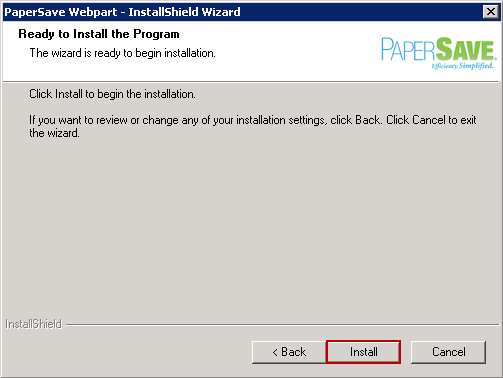
6. Click on Install to start the installation.
7. Wait until the installation is completed.
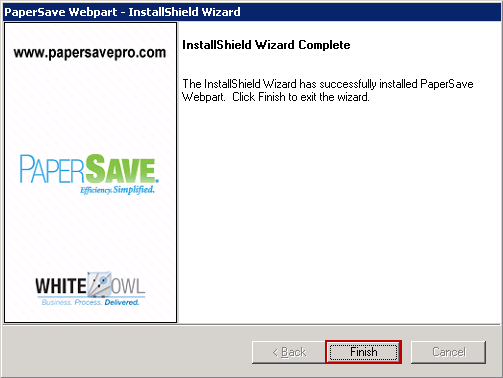
8. On completion of installation, below wizard will be displayed. Click on Finish to exit the wizard.
PaperSave Web Part Configuration Steps:
1. On successful installation of the PaperSave Web Part, navigate to SharePoint Site for which Web Part is deployed. Expand Site Actions drop-down list and select Edit Page option.

2. SharePoint Site Page will open in an editable form. Click on Add a Web Part to add web part.
 |
| Click on image to magnify/shrink |
3. Select PaperSave under Categories section. Select PaperSave, under Web Parts section and click Add.
 |
| Click on image to magnify/shrink |
4. Following page will open showing the steps to configure the properties of PaperSave Web Part for SharePoint. Click on the arrow displayed on the right top of the page and click on Edit Web Part option to edit the web part.
 |
| Click on image to magnify/shrink |
5. Clicking on Edit Web Part option will open a new section in the right panel of the screen. Transaction Data URL needs to be added under PaperSave. Transaction Data URL can be retrieved from PaperSave Web (previously known as PaperSave Record Browser). Open PaperSave Web Application, select desired Host Application and related Transaction Type and click on Copy Transaction Data Link button available in the ribbon. Paste the copied URL in the text-box available under PaperSave group. Click on Apply and then click OK.
 |
| Click on image to magnify/shrink |
The PaperSave Web Part is successfully configured and ready for use. The following actions can be performed using the PaperSave Web Part within SharePoint:
| • | Add Documents: This option allows adding documents to PaperSave for selected host application records. |
| • | Show Documents: This option allows viewing documents added to PaperSave for selected host application records. |
| • | Show Associated Documents: This option allows viewing associated documents for selected host application records. |
| • | Show Transaction Data: This option allows viewing only those records that have documents associated to it. |
| • | Refresh: This option allows refreshing the list of records. |
| • | Search Documents: This option allows searching the documents added to PaperSave for selected host application records. |
 |
| Click on image to magnify/shrink |