|
Email Notifications |
  
|
| Show/Hide Hidden Text |
|
Email Notifications |
|
| Show/Hide Hidden Text |
Prior to PaperSave 6.0, the system would send Error Alerts and Workflow Notifications, via e-mail, only through simple, unsecured SMTP Servers. In PaperSave 6.0, we included support for sending Error Alerts and Workflow Notifications via e-mail through Gmail, Office 365, Hosted Exchange, and other Cloud e-mail providers that support secured SMTP services based on TLS or SSL on any network port.
PaperSave gives you the ability to send Email Notifications to the users. This option allows you to configure SMTP settings that will be used for sending notifications to the email addresses configured here.
PaperSave On-Premise:
Follow below below given steps to configure the SMTP email settings:
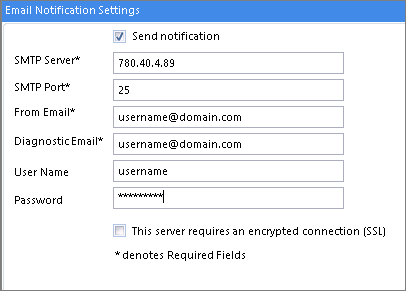
1. Click on Email Notification under the General tab and the following section will open.
2. You need to select 'Send Notification' checkbox to enable all the fields. Description of the details that need to be entered is mentioned below:
| • | SMTP Server: Enter SMTP Server details. |
| • | SMTP Port: Enter SMTP Port. |
| • | From Email: Enter the Email address from which you may want to send the email. |
| • | Diagnostic Email: Enter the Email Address to which you may want to send the email. |
Note: |
If any thing fails in PaperSave then an email notification will be sent to the user whose Email Address is configured under Diagnostic Email. |
| • | User Name: Enter you User Name/Email Address (To). |
| • | Password: Enter your Password. |
3. You can check 'This server requires an encrypted connection (SSL)' checkbox if you wish to send the emails via IMAP Email Server. For Example: Gmail, Office 365 etc.
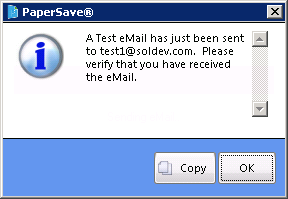
4. You can validate the settings by sending a test email by clicking Test button available in the ribbon as displayed below.
 |
| Click on image to magnify/shrink |
A test email will be sent to the provided email address. Once the test email has been sent to the respective email address, you will be able to view below displayed message.
5. Click Reset to cancel the current configuration.
6. Click Update to save the configuration.
PaperSave on Cloud:
Follow below below given steps to configure the Email Notification Settings:
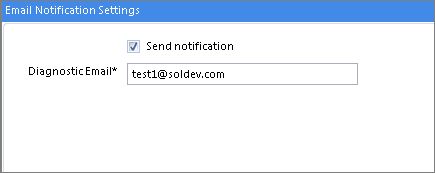
1. Click on Email Notification under the General tab and the following section will open.
2. You need to select 'Send Notification' checkbox to enable all the fields. Provide Diagnostic Email address to which you may want to send the email.
Note: |
||||
|
3. You can validate the settings by sending a test email by clicking Test button available in the ribbon. A test email will be sent to the provided email address. Once the test email has been sent to the respective email address, you will be able to view below displayed message.