|
Working With PaperSave Web Client |
  
|
| Show/Hide Hidden Text |
|
Working With PaperSave Web Client |
|
| Show/Hide Hidden Text |
Following are the steps to work with PaperSave Web for Student Information System:
1. Open Student Information System and navigate to appropriate Transaction Type. Once PaperSave is successfully integrated with Student Information System, you should see PaperSave Menu with various options as shown below.
 |
| Click on image to magnify/shrink |
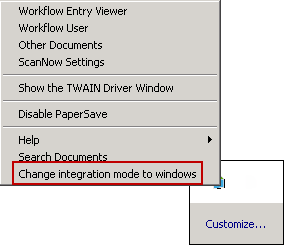
2. On PaperSave's Integration with Student Information System, PaperSave's Run Time Application will be displayed in the system Run Time. You should see PaperSave icon as displayed below. Right click on PaperSave Run time icon to open the Run Time menu as displayed in the following image. Select Change Integration Mode to Web to work with PaperSave Web User Interfaces. Thereafter, you will have to exit the Host Application and re-open it to implement the changes.
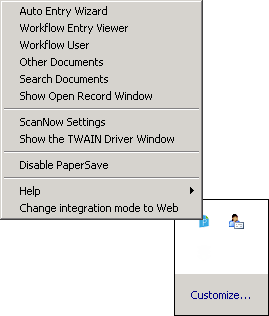
3. On re-opening the Host Application and initializing the PaperSave Run Time again, you should see that the caption of Change Integration Mode to Web should change to Change Integration Mode to Windows as displayed in the following image. Once you have changed the integration mode from windows to web, all the PaperSave Interfaces will open in Web mode. To again switch to PaperSave Windows, click on Change integration mode to Windows.