|
Add New Company |
  
|
| Show/Hide Hidden Text |
|
Add New Company |
|
| Show/Hide Hidden Text |
To add a new user defined Company manually into PaperSave for the selected Host/Non-Host Application, follow below given steps:
1. Go to PaperSave Settings>> Select Records Management>> Select Company Section.
2. Click Add on the toolbar. As you click Add, a new pane will be displayed in the right panel of the screen as displayed below.
 |
| Click on image to magnify/shrink |
3. Enter Company Name in the respective text box. Thereafter, you need to provide Company SQL Server Connection Information as mentioned below:
| • | Server Name: Enter the name of your Server |
| • | Authentication: Select Authentication Type from the drop-down list. Authentication Type can be selected as either Windows Authentication or SQL Authentication. If SQL Authentication is selected then you need to provide User Name and Password in the respective text box. |
| • | Database: Enter PaperSave database in the available text box. |
| • | User Name: Enter your SQL User Name. |
| • | Password: Enter your SQL Password. |
Note: |
All passwords will be stored in plain text within PaperSave Database. Because of this, it is recommended to use Windows Authentication instead of SQL Authentication for increased security. |
| • | Connection String: After providing all the required inputs, click Test to get the Connection String. The Connection String box will display information regarding the connection string. |
| • | Data Access Service URL: This is a non-mandatory field. You can enter Data Access Service URL, if you are using PaperSave on cloud and want to access host data from cross domain using Data Access Web Service. |
Note: |
||||
|
| • | User Name: Enter the User Name (User that has the rights to access Data Access Web Service). |
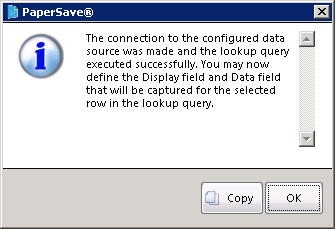
| • | Password: Enter the Password. Then click Test button to test the Data Access Service URL. If the connection is successful, you should see below message prompt. Click OK to exit the window. |
4. Then click Save to save the details of the company.
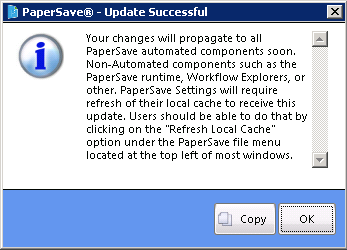
5. Once the Company is successfully added into PaperSave, you will be able to view a successful message as displayed below. Click OK and exit the window.