|
ScanNow Settings |
  
|
|
ScanNow Settings |
|
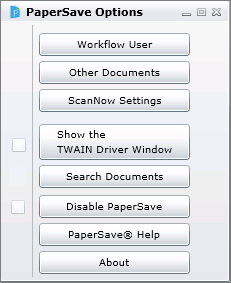
Select ScanNow Settings option under PaperSave Options Menu.
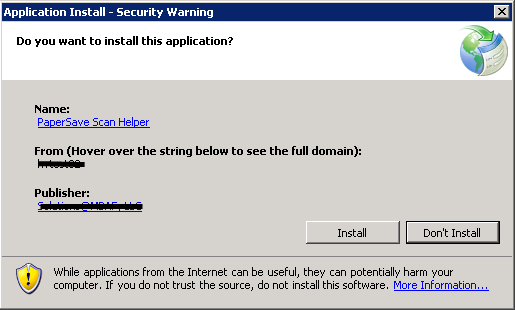
When you try to add documents using ScanNow and or ScanLater method for the first time then system will ask you to install the application and below displayed window will open. Click Install to start the installation.
Wait till the installation process gets completed.
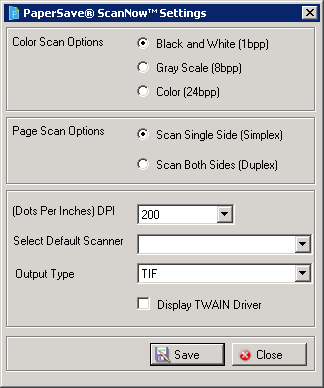
Once the installation is completed, PaperSave ScanNow Settings window will open as displayed below. Description of all the options is mentioned below.
| • | Color Scan Options: Select among black and white (highly recommended since it uses the least amount of disk storage space), gray scale or color. |
| • | Page Scan Options: You can choose to scan a single side or both sides of the sheet. |
| • | DPI (Dots per Inch): After setting this option, the document will scan with the selected number of Dots Per Inch. The smaller the number, the less sharp the image will appear. For most documents, the lowest number of DPI should suffice. |
| • | Select Default Scanner: You can set a scanner as a default scanner by selecting the appropriate scanner from the drop-down list. |
| • | Output Type: You can select the required Output Type for the scanned document by selecting the appropriate option from the drop-down list. |
After selecting the appropriate options for the above mentioned settings, click Save to save the changes.
Once the scanner settings are saved successfully, below displayed window will open. Click OK and exit the window.