
Importing rows into the Custom Tables
To import rows to the custom table, follow the below steps:
1) Click on the Custom Tables tile in the Workflow and Automation section of the Configuration Area.
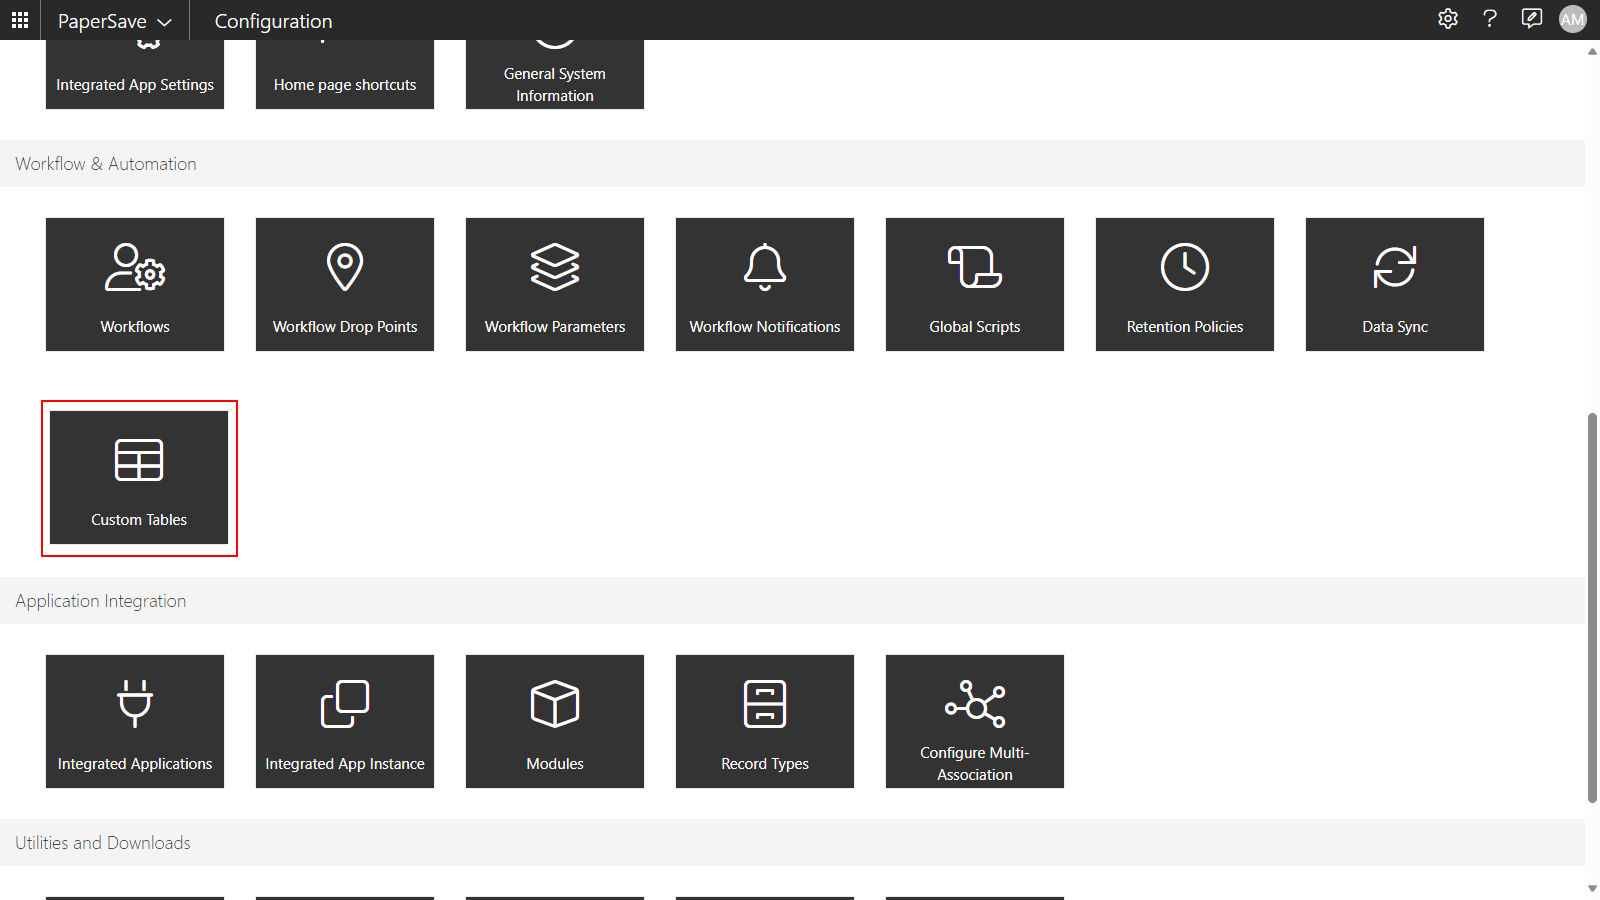
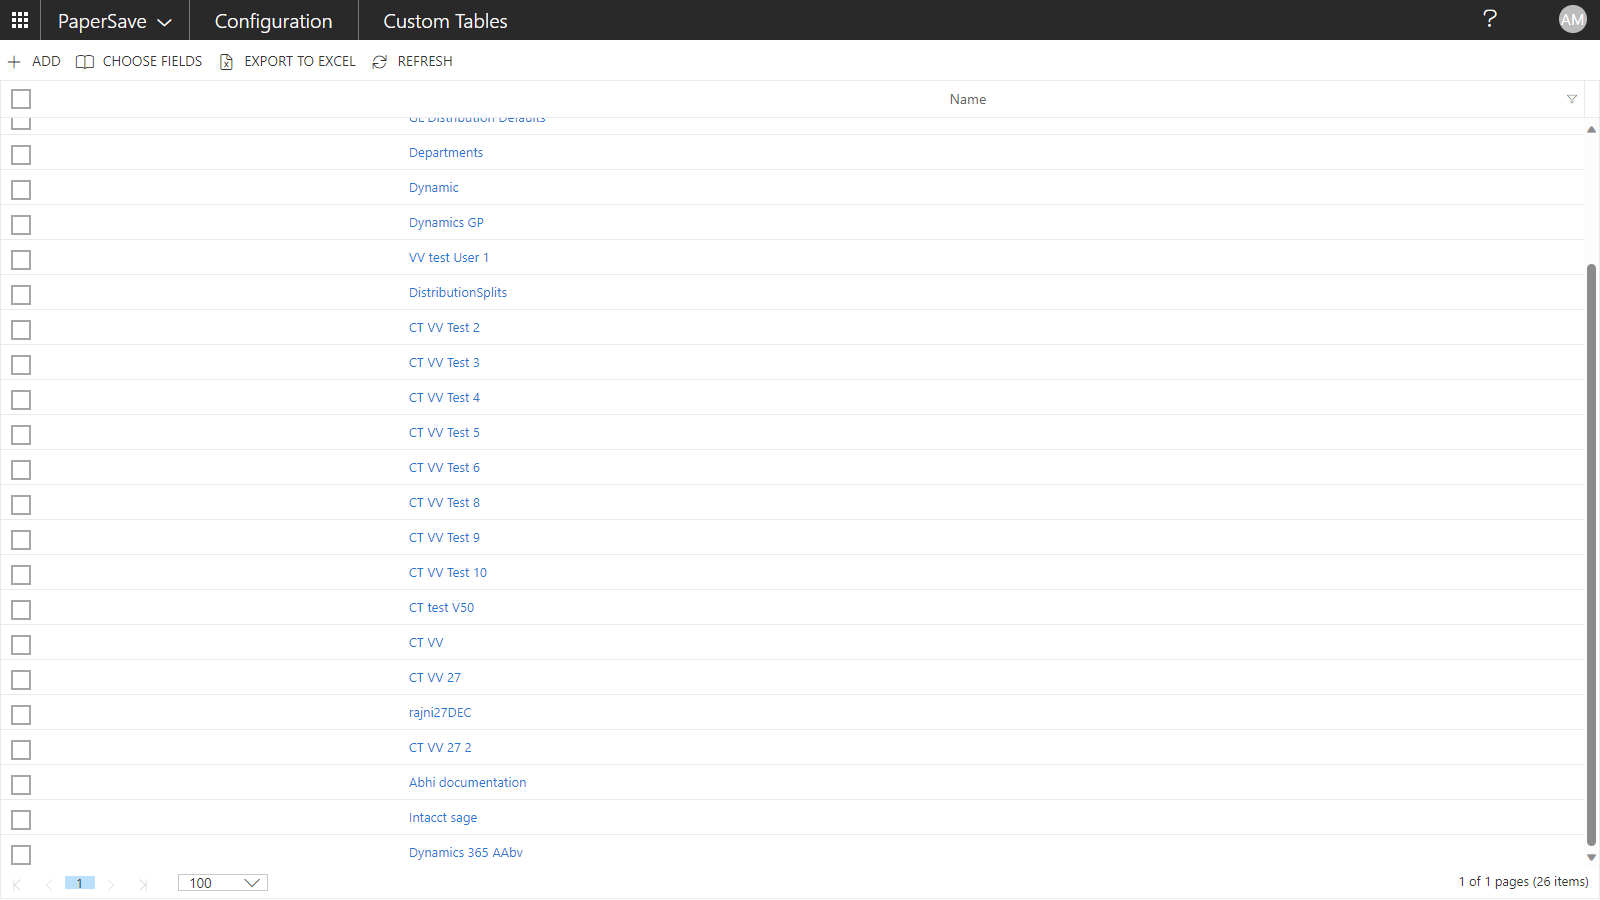
2) Now, the Custom Tables list view page opens, click on the desired custom table from the list as shown below.
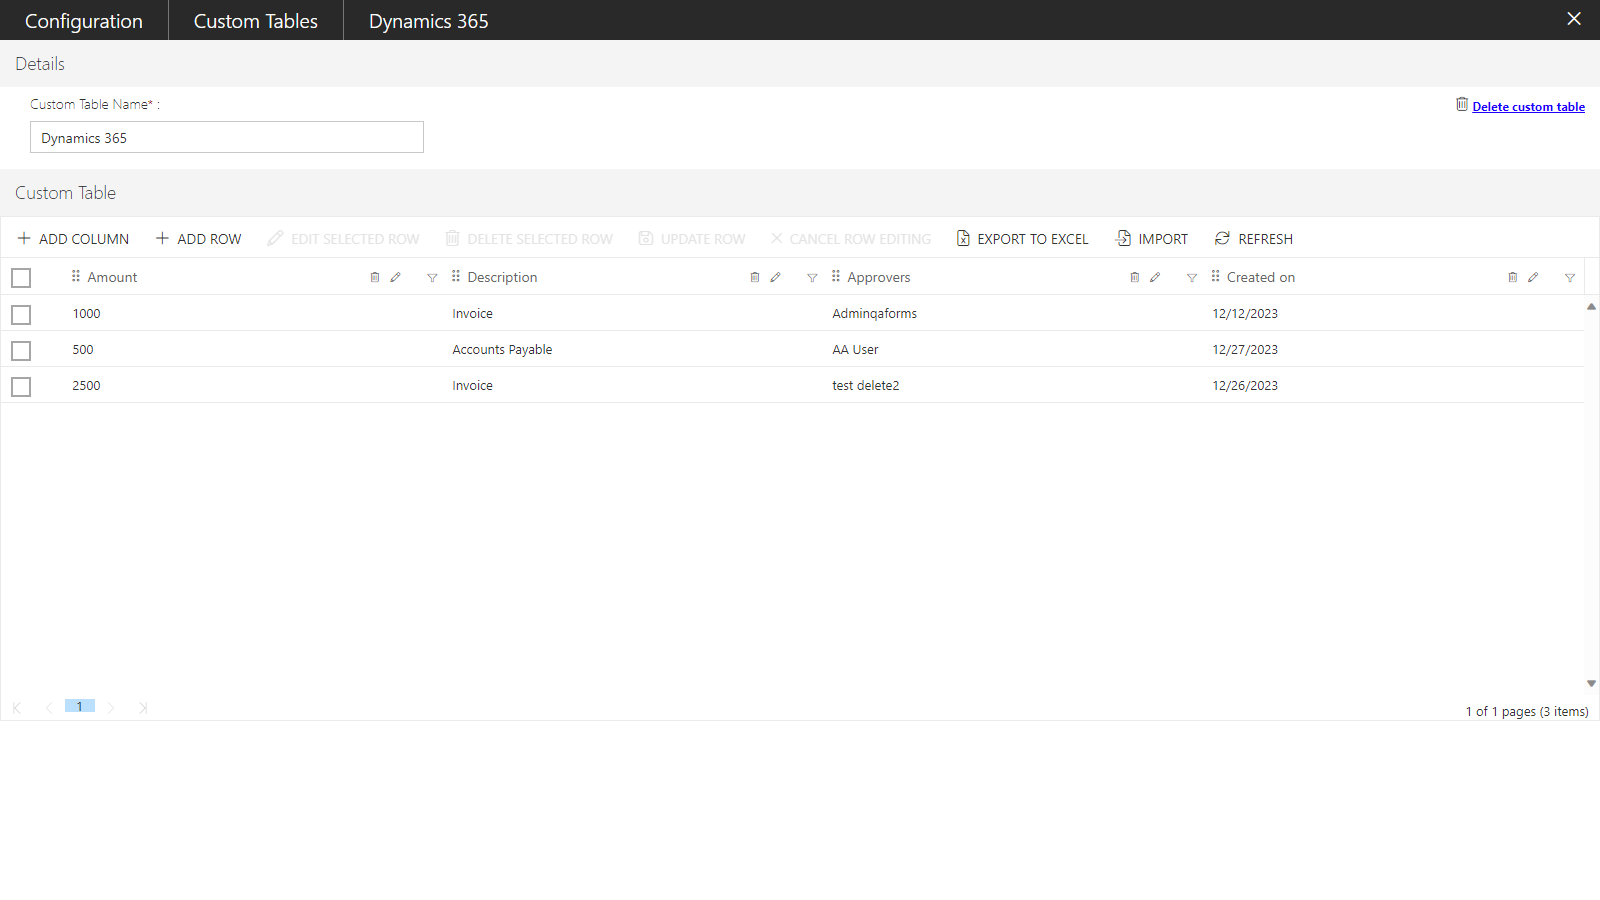
3) Click on the Import option from the list toolbar as shown below.
Note: When there is any row in the custom table and you click on the IMPORT button, then the confirmation notification appears on the screen, asking the user to either append new rows to existing ones in the table or override existing rows with the new rows.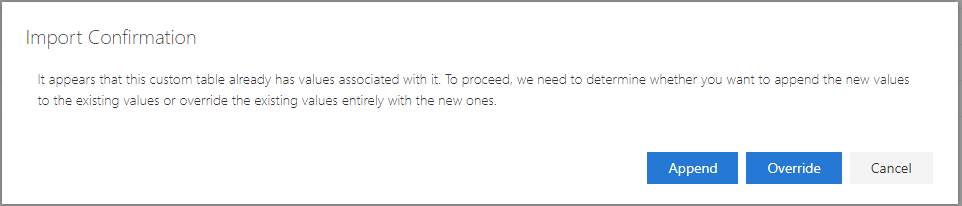
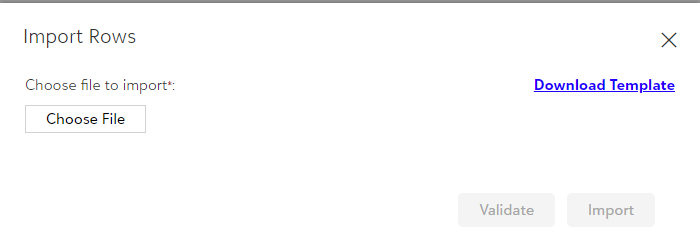
4) The import custom table notification pops up on the screen as shown below.
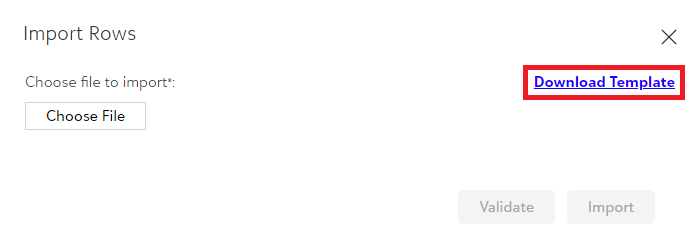
5) Now, click on the Download template to download the .CSV file, if not downloaded.
6) Once the file is downloaded, open the file, fill in all the required details and save it.
Note: Within the .CSV file, the rows must have the values in the following format based on the selected column type.
Number column type: It allows 13 values including 4 decimal values.
Example: 145632256.0000
String column type: It allows only string values upto 120 characters.
Example: Abcfg1235
Date Column type: The format of the date should be in "MM/dd/yyyy".
Example: 12/31/2023
User column type: It should contain the user name as present in user profile page.
• For Azure Authentication - User name field should have Email.
Example: padcvddd@pairsoft.com
• For Native Authentication - User name field should have "User name followed by tenant id"
Example: amiriyalapsservices
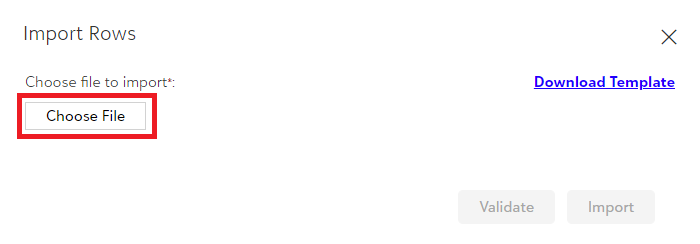
7) Now, upload the saved file, by clicking on the Choose File button as shown below.
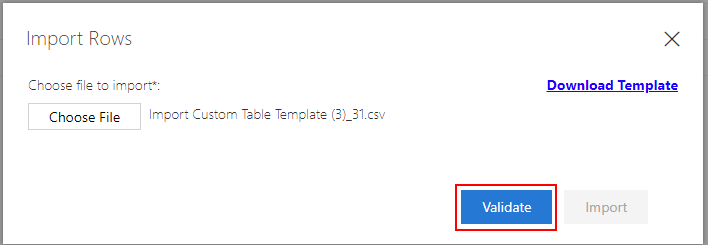
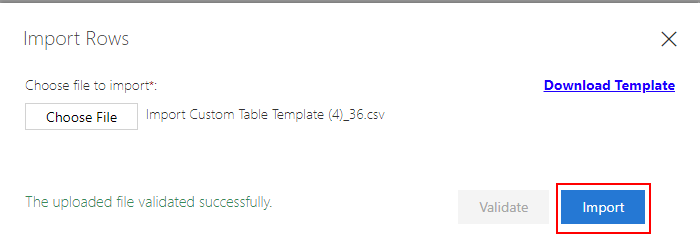
8) After uploading the file, the Validate option gets enabled, click on the Validate option so that it validates the content in the file uploaded.
9) After successful validation, the Import option gets enabled, by clicking on it, the information gets imported to the rows within the column.
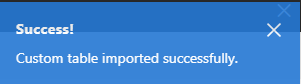
10) A successful notification appears on the top-right corner of the screen as shown below.
11) While validating the uploaded file, you might encounter the following error:
- If the uploaded file has incorrect details, then you get a message as shown below.
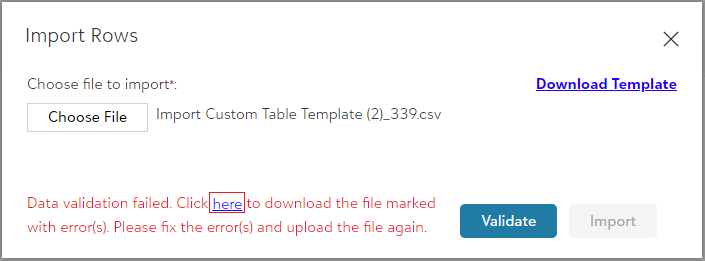
- Now, click on the “here” hyperlink as shown above to view the error details.
- After making the necessary corrections, jump to Step 7 and perform the further steps.
Note: If the two rows having the same data within the .CSV file, only a single row gets imported.
Tip: If a .CSV file contains a completely blank row within the data, the import process includes the data up to the blank row, and any data following the blank row is not imported.
Note: If a string column in the .CSV file contains more than 120 characters, then on uploading, it automatically gets trimmed to 120 characters. It takes first 120 characters without giving any error while validation.