
Choose Fields
You can set your user preferences to manage what information is displayed in the list by adding or removing columns based on what’s important to you using Choose Fields.
The following video explains the Choose Fields feature:
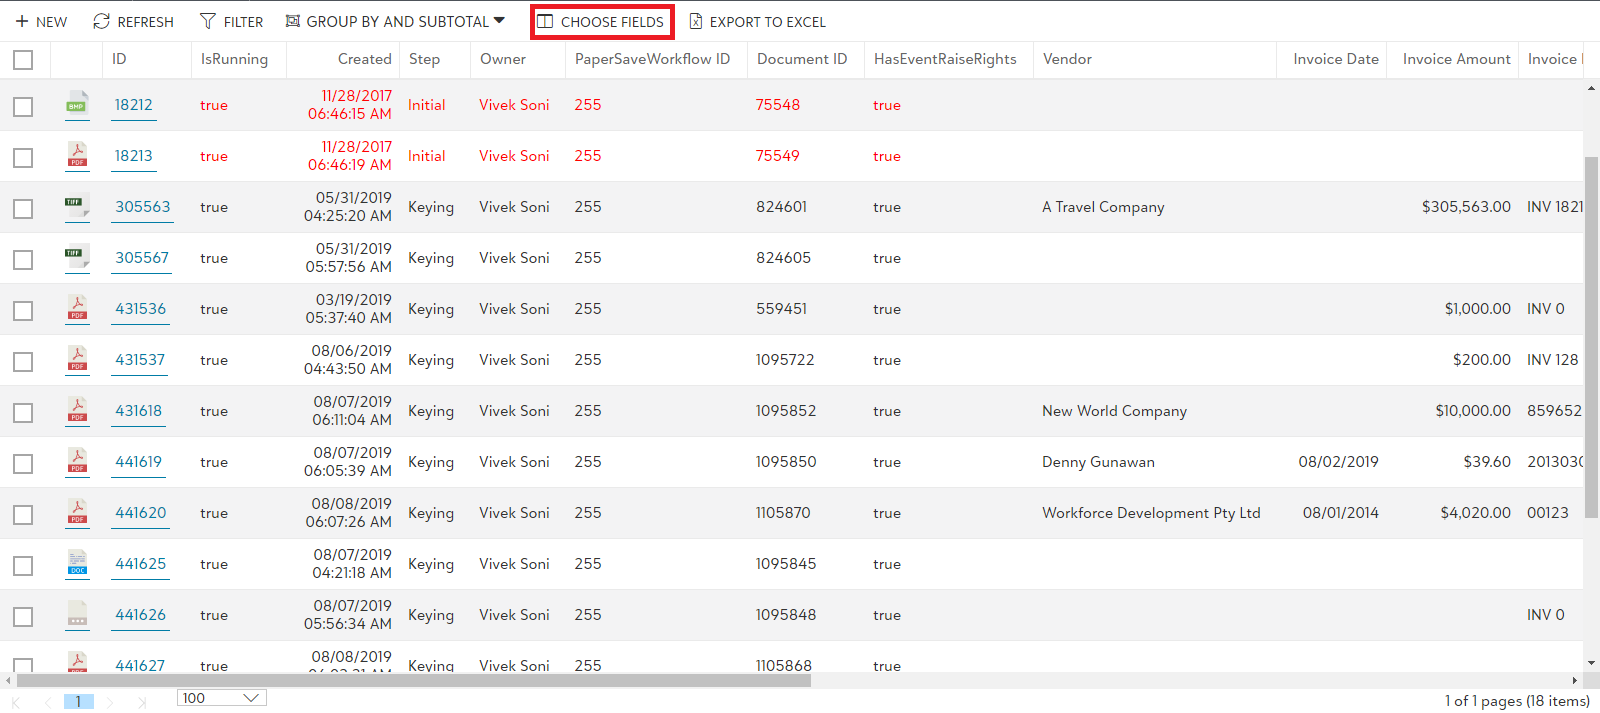
- Click on "CHOOSE FIELDS" option in the list toolbar as shown in the below screen:
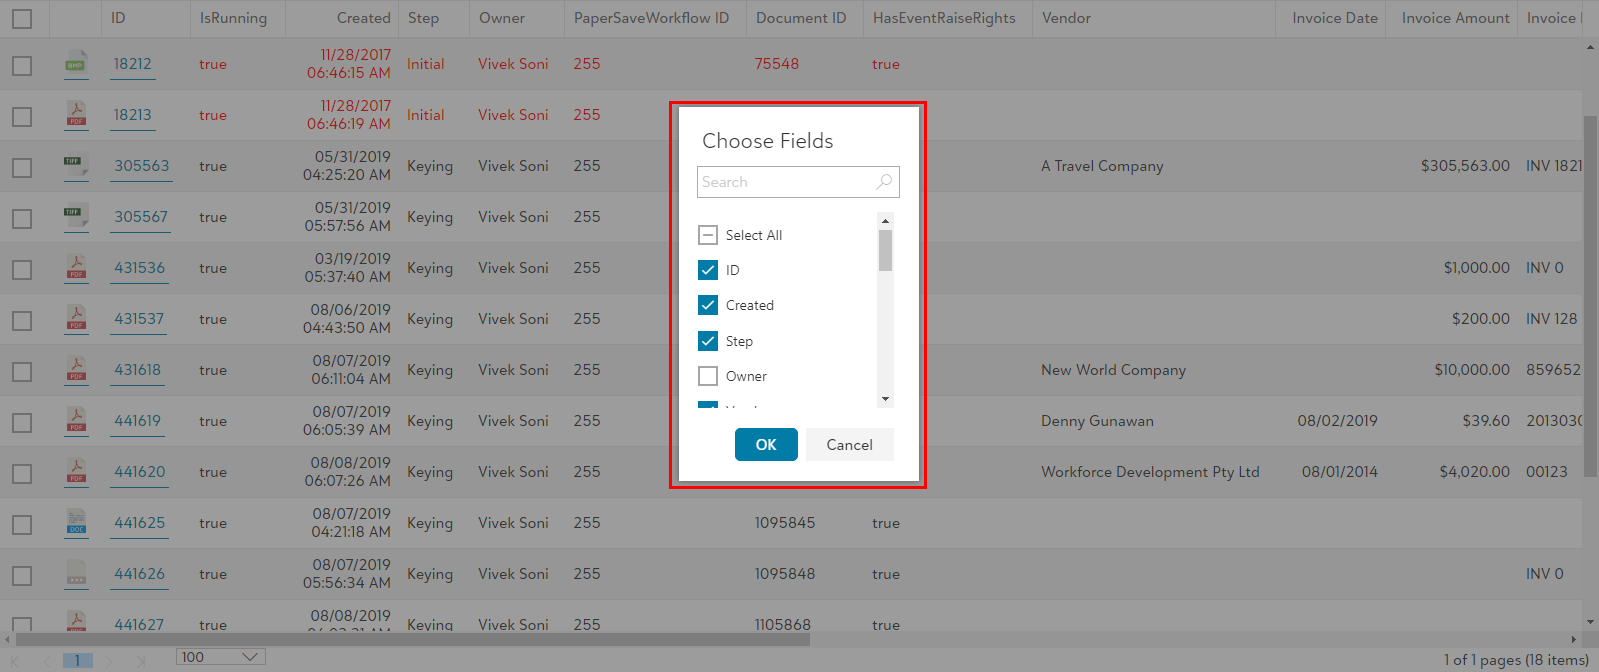
- As you click on "CHOOSE FIELDS" option, a dialog box will appear where you can select the desired fields to be displayed in the list.
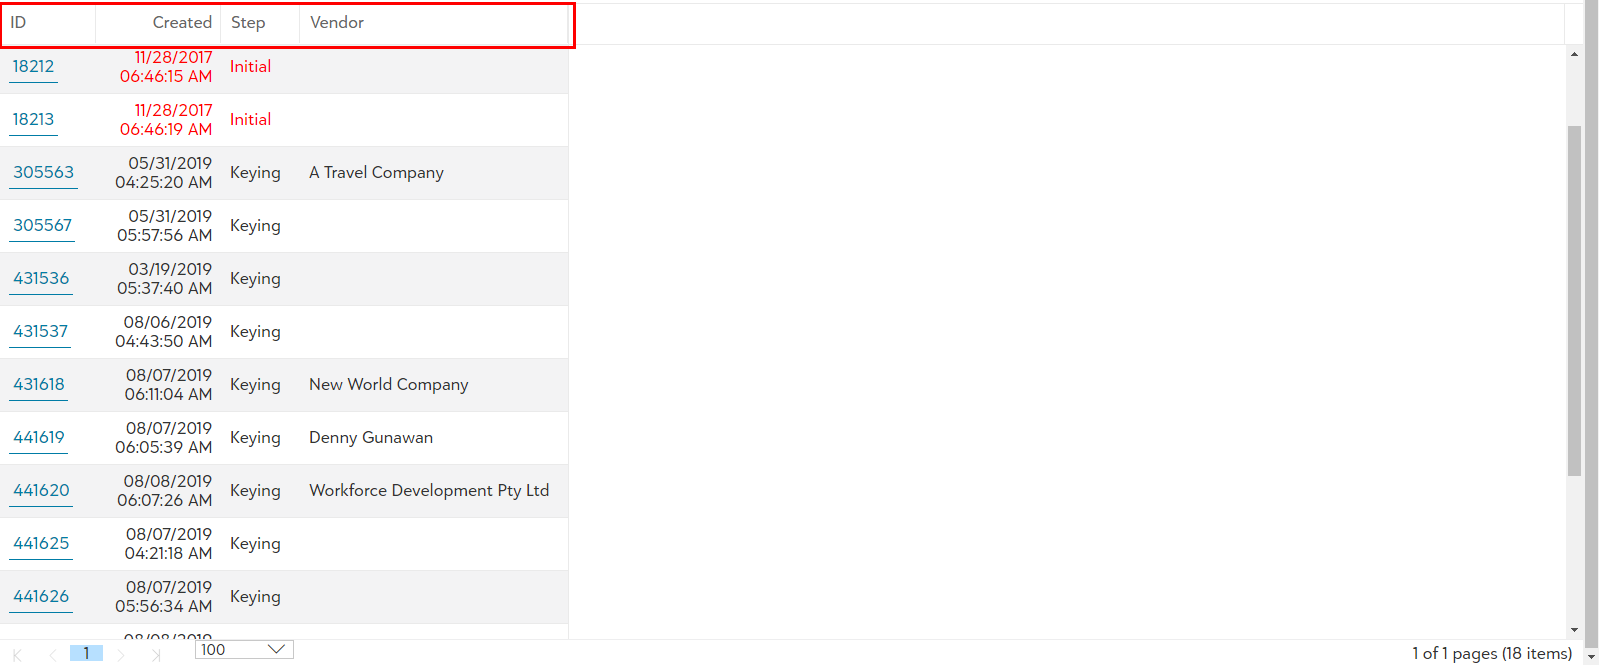
- As you uncheck certain fields from the "Choose Fields" dialog box and Click OK, the list will be displayed with the selected header fields only.
Fields Selected "By default"
If you are accessing the “Choose Fields” option for the first time, then upon accessing “Choose Fields” option, It will load all the default fields (columns).
Similarly, If you have already chosen the fields to be displayed, then upon accessing “Choose Fields” option, It will load the fields (columns) which were chosen at last time, and remaining fields will appear as unchecked.
Selecting the fields to be displayed
To view certain fields on the List, select the particular field using respective check box (Blue tick mark will appear on selecting the checkbox). Then, Click "OK" to save the changes.
Tip: If the field list is too long, Scroll down to view the remaining fields or Type in the desired field name in the search box to view the corresponding fields.
Cancel the changes made in "Choose Fields"
Click "X" or press "Esc" to exit the choose fields window without saving any changes.