Creating an Email Type Drop point for Gmail (IMAP - OAuth)
The following steps should be performed by the PaperSave users who are responsible for creating Email type Drop Point with Mail Server Type of Gmail (IMAP - OAuth)"
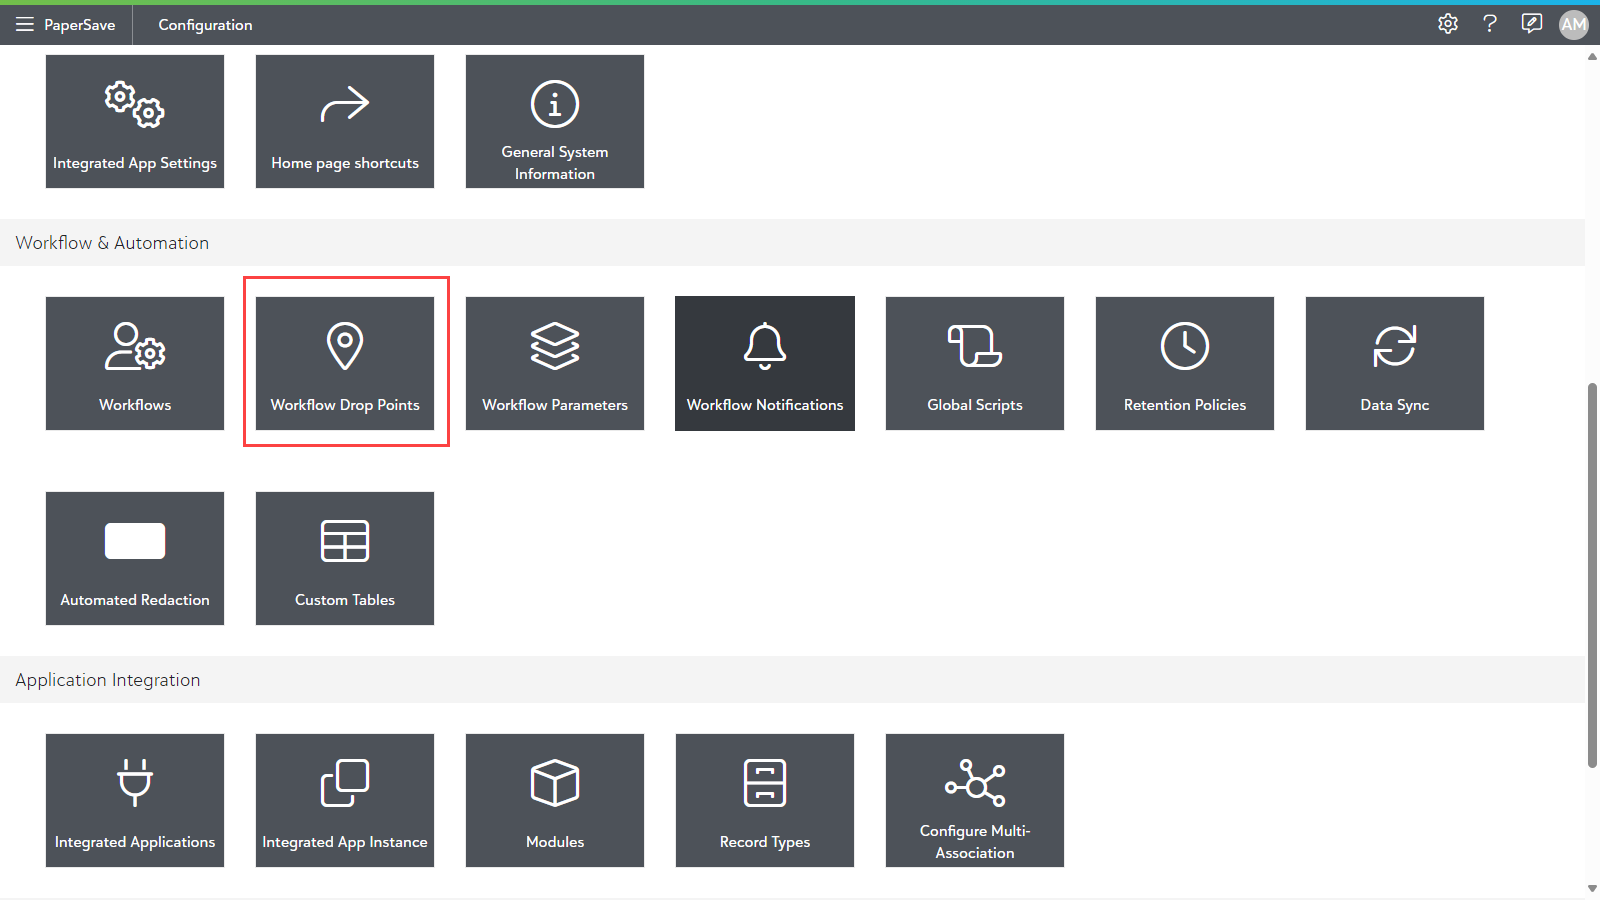
1) Navigate to the PaperSave Configuration Area and click Workflow Drop Points tile in Workflow & Automation section.
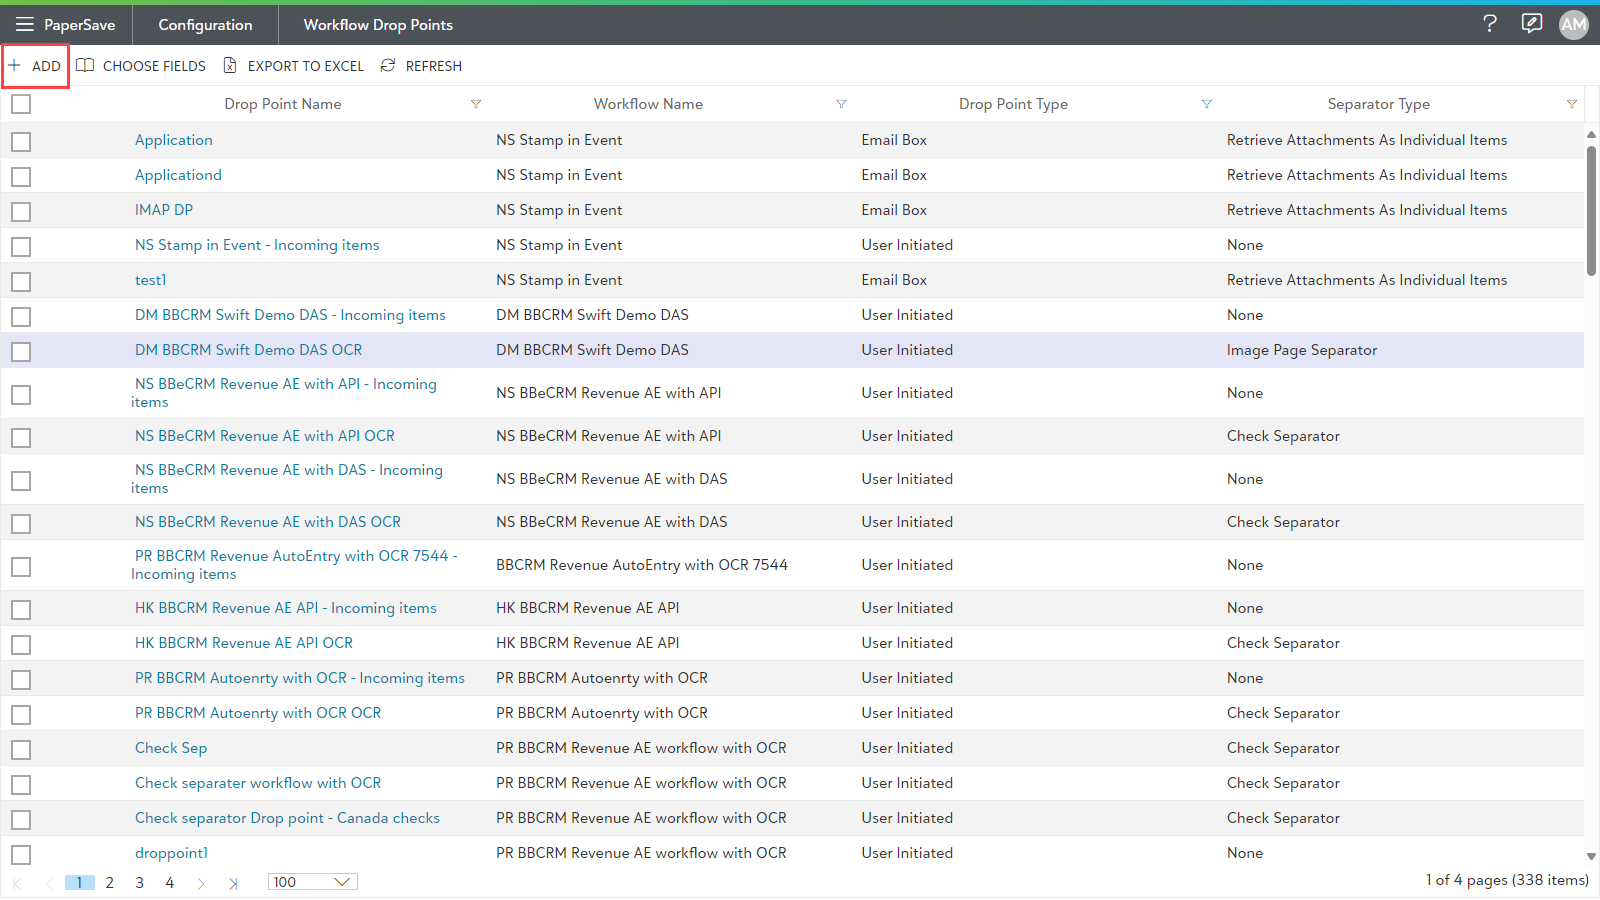
2) Now, click on +ADD to create a new drop point.
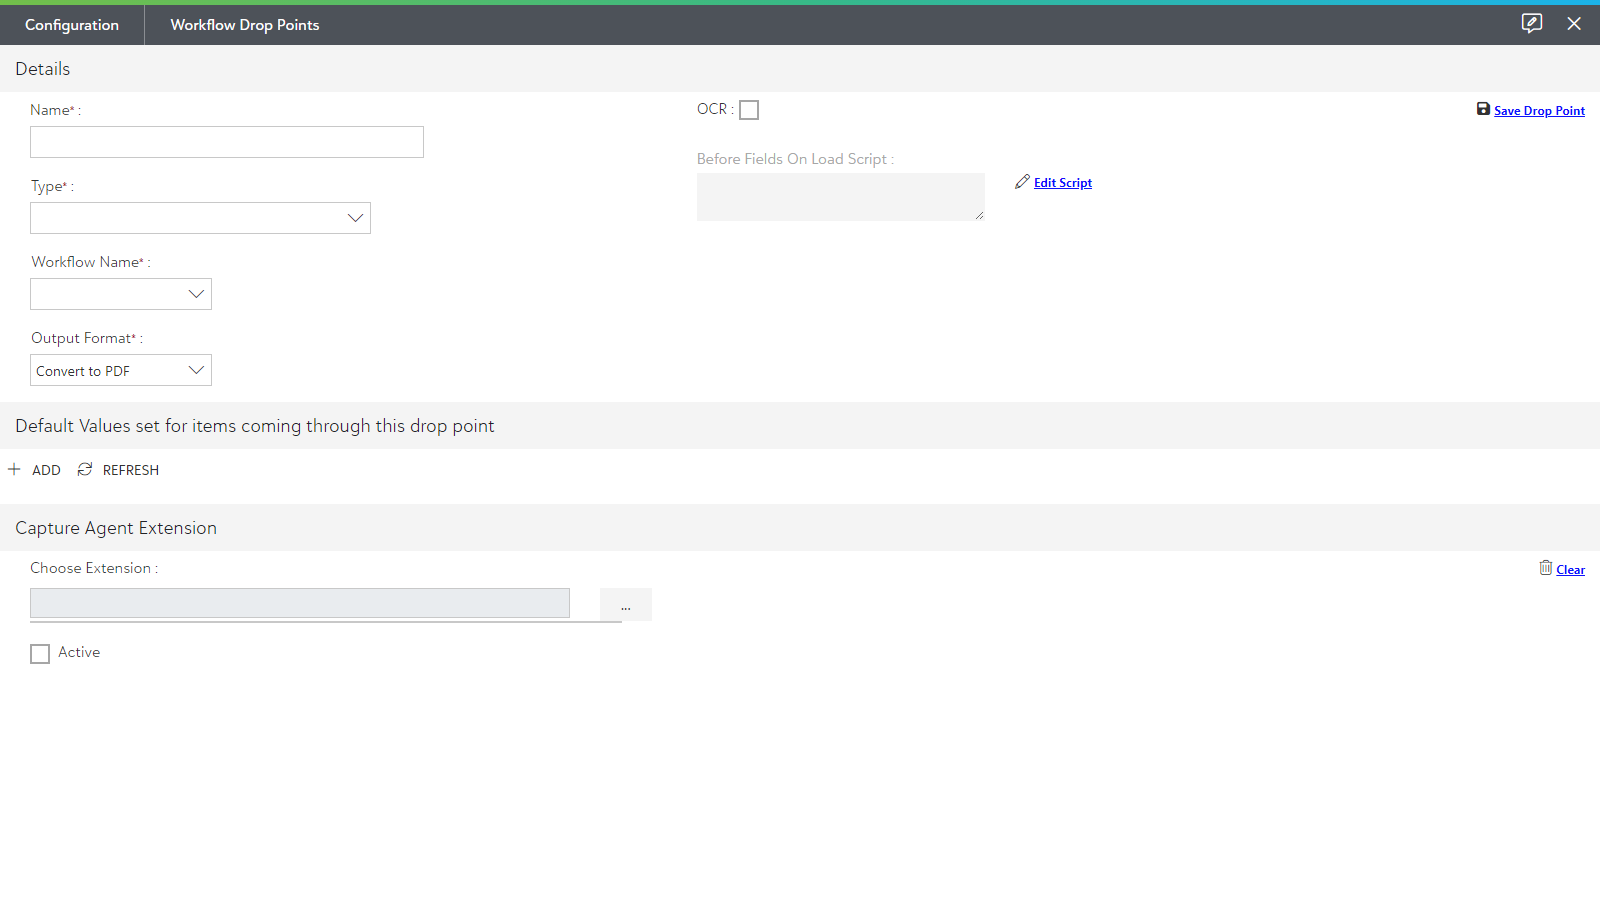
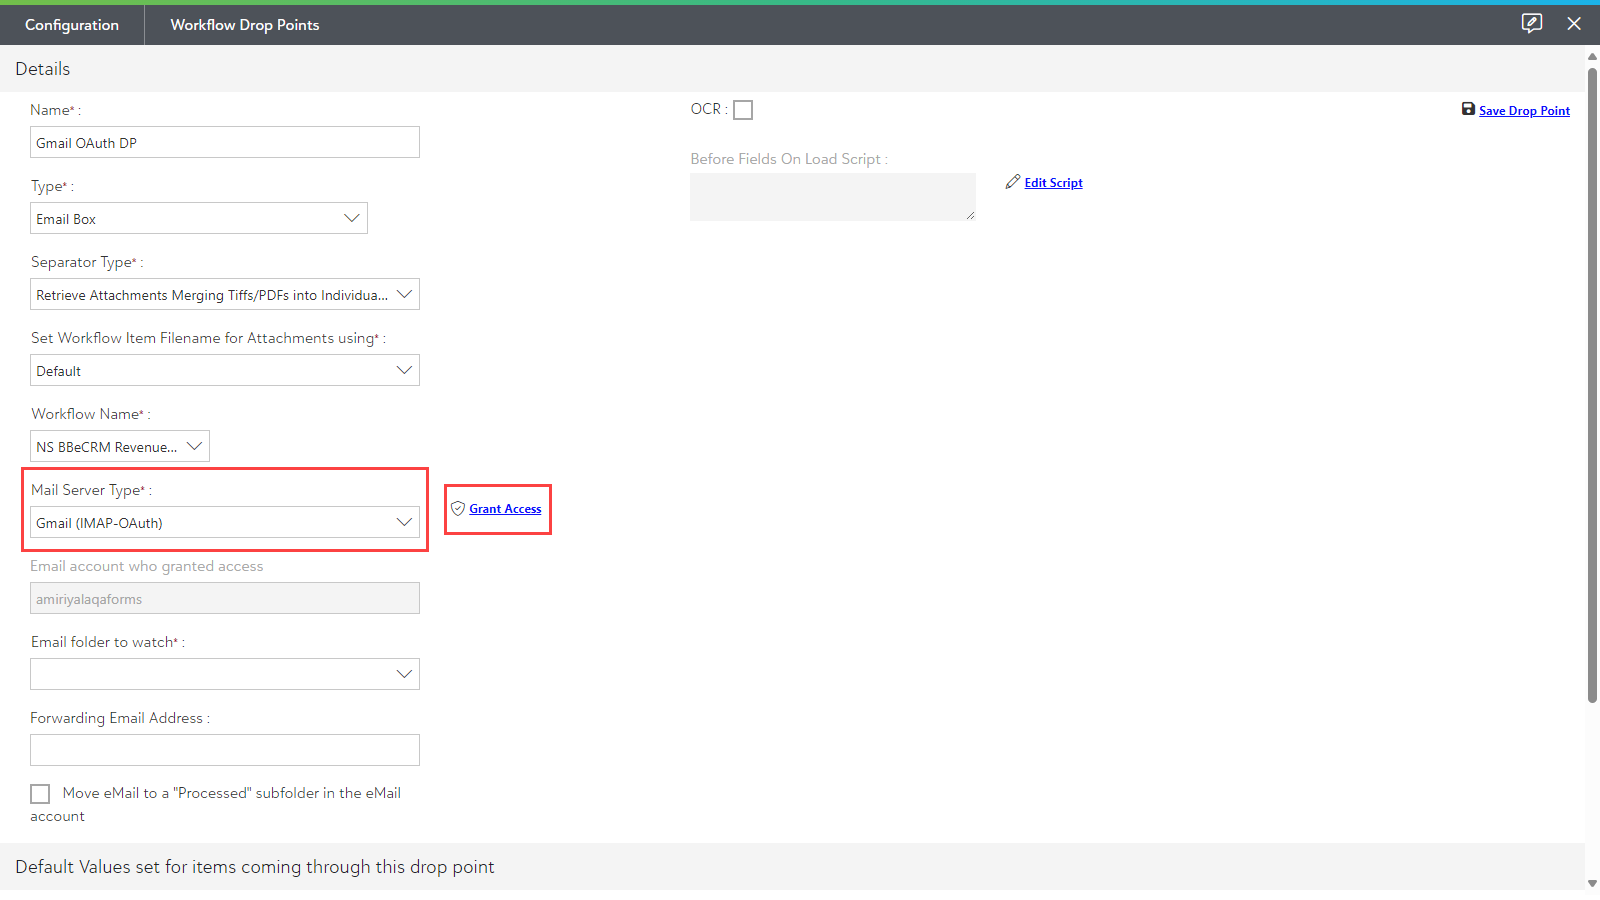
3) Enter the following Drop Point details:
- Enter the Name of the Drop point.
- Select type as Email Box.
- Select the desired Separator Type.
- Set an option from Workflow Item filename for Attachments using dropdown.
- Select the desired Workflow.
- Select Gmail (IMAP - OAuth)as the Mail Server Type based on your organization's mail client.
4) Click on the Grant Access button to the right of the Mail Server Type as shown in the below screen.
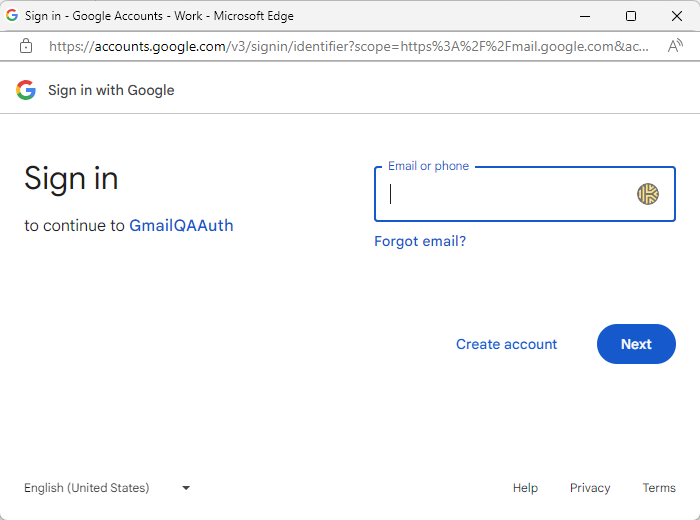
5) Now, a Gmail login prompt appears on the screen as shown below. Enter your Gmail address and click on Next to proceed.
6) Enter your password and click on Sign in to grant access to your mailbox.
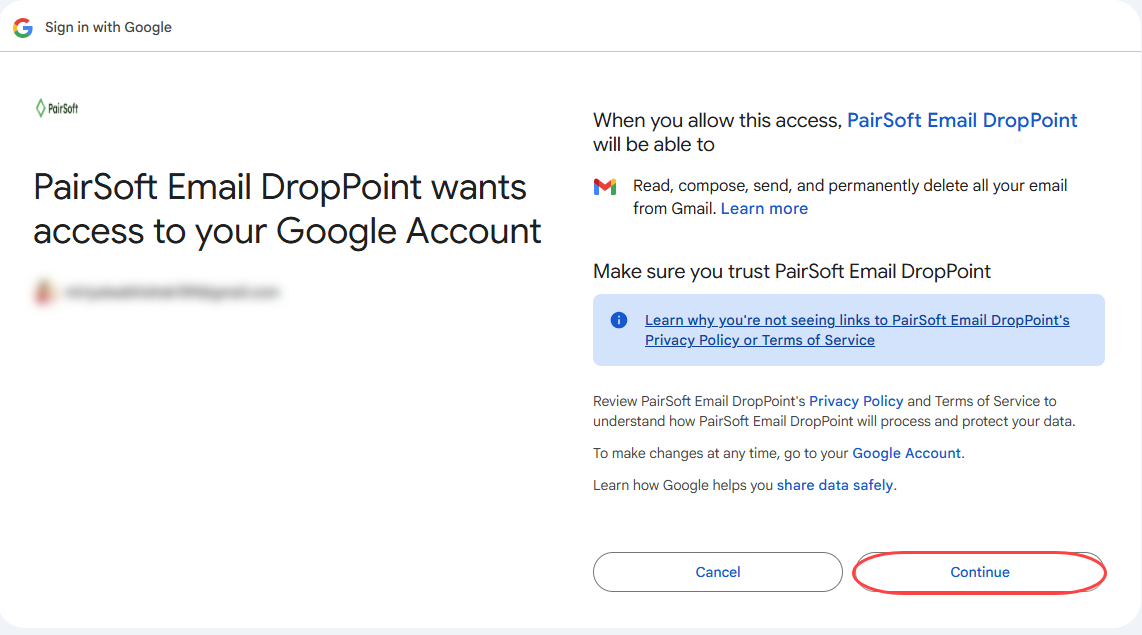
7) It asks for your confirmation to grant access. Click on Continue as shown below.
8) Once the login credentials are verified, a successful notification titled "Access granted successfully" appears on the top-right corner of the screen as shown. Now, PaperSave is able to access the Gmail for that individual user.
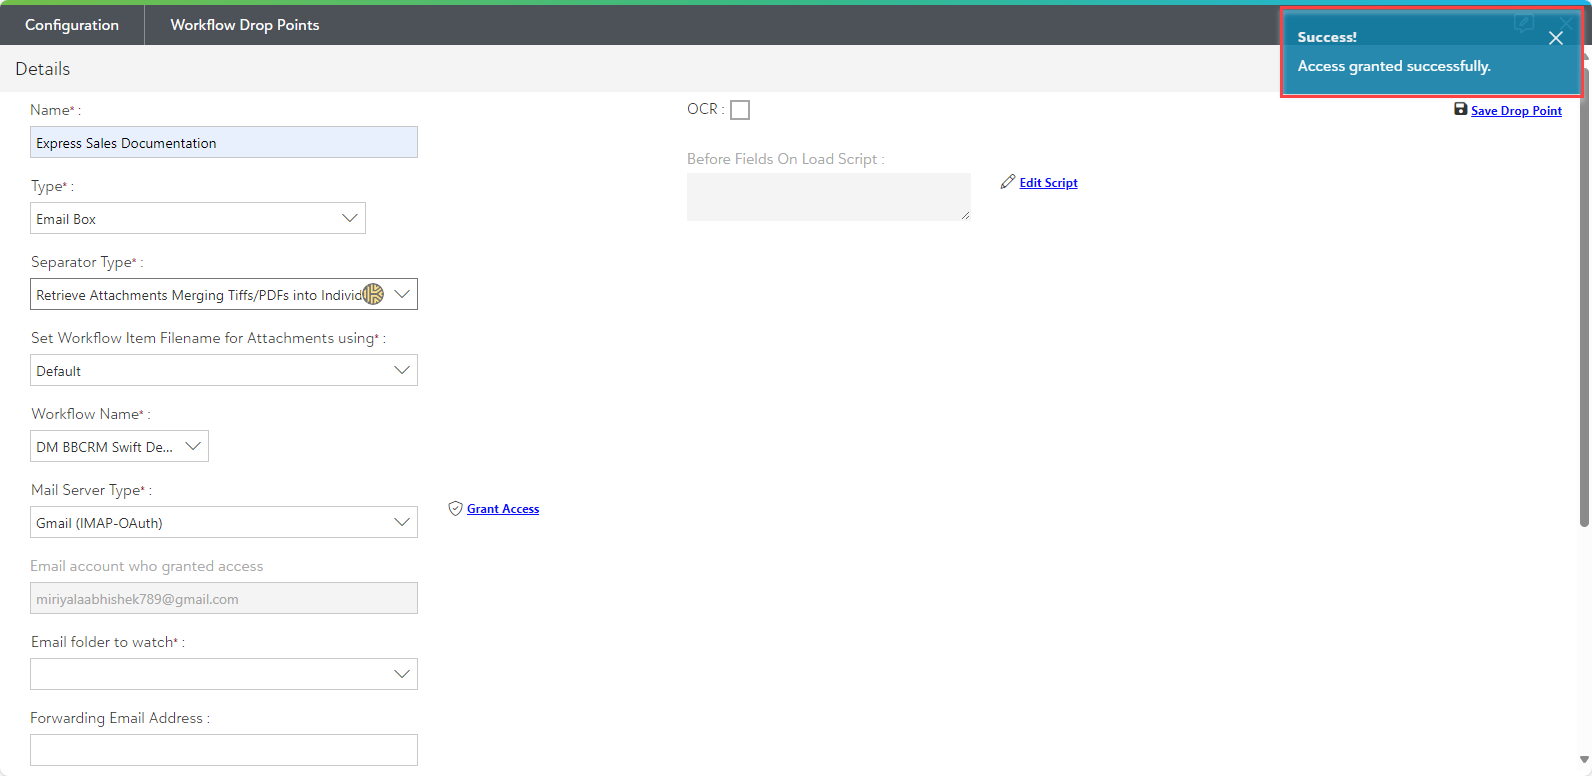
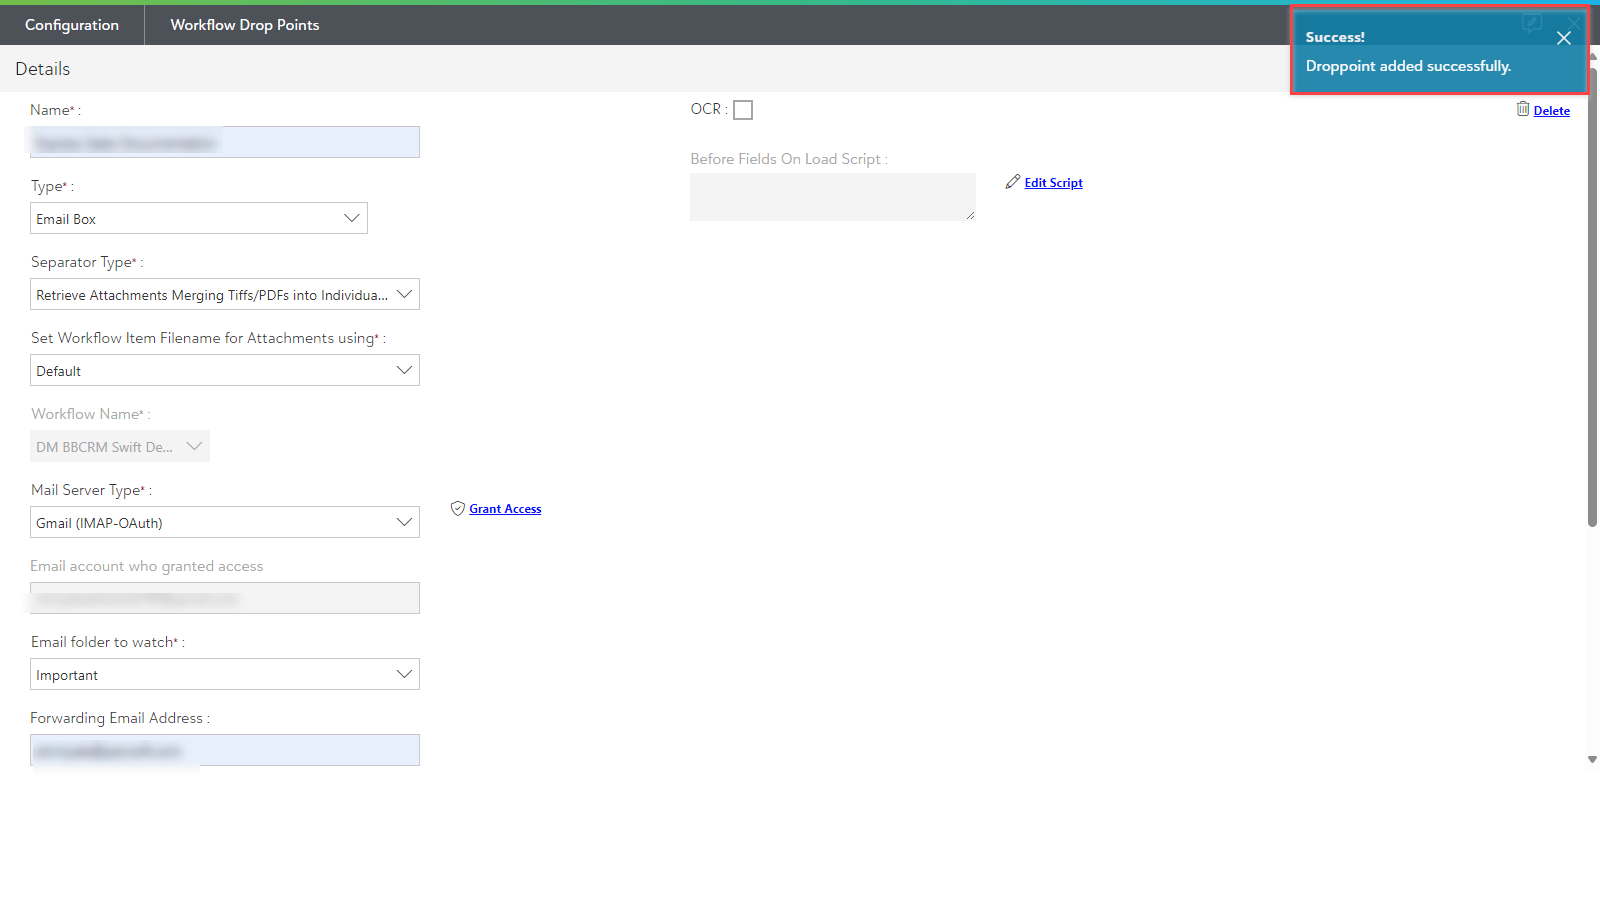
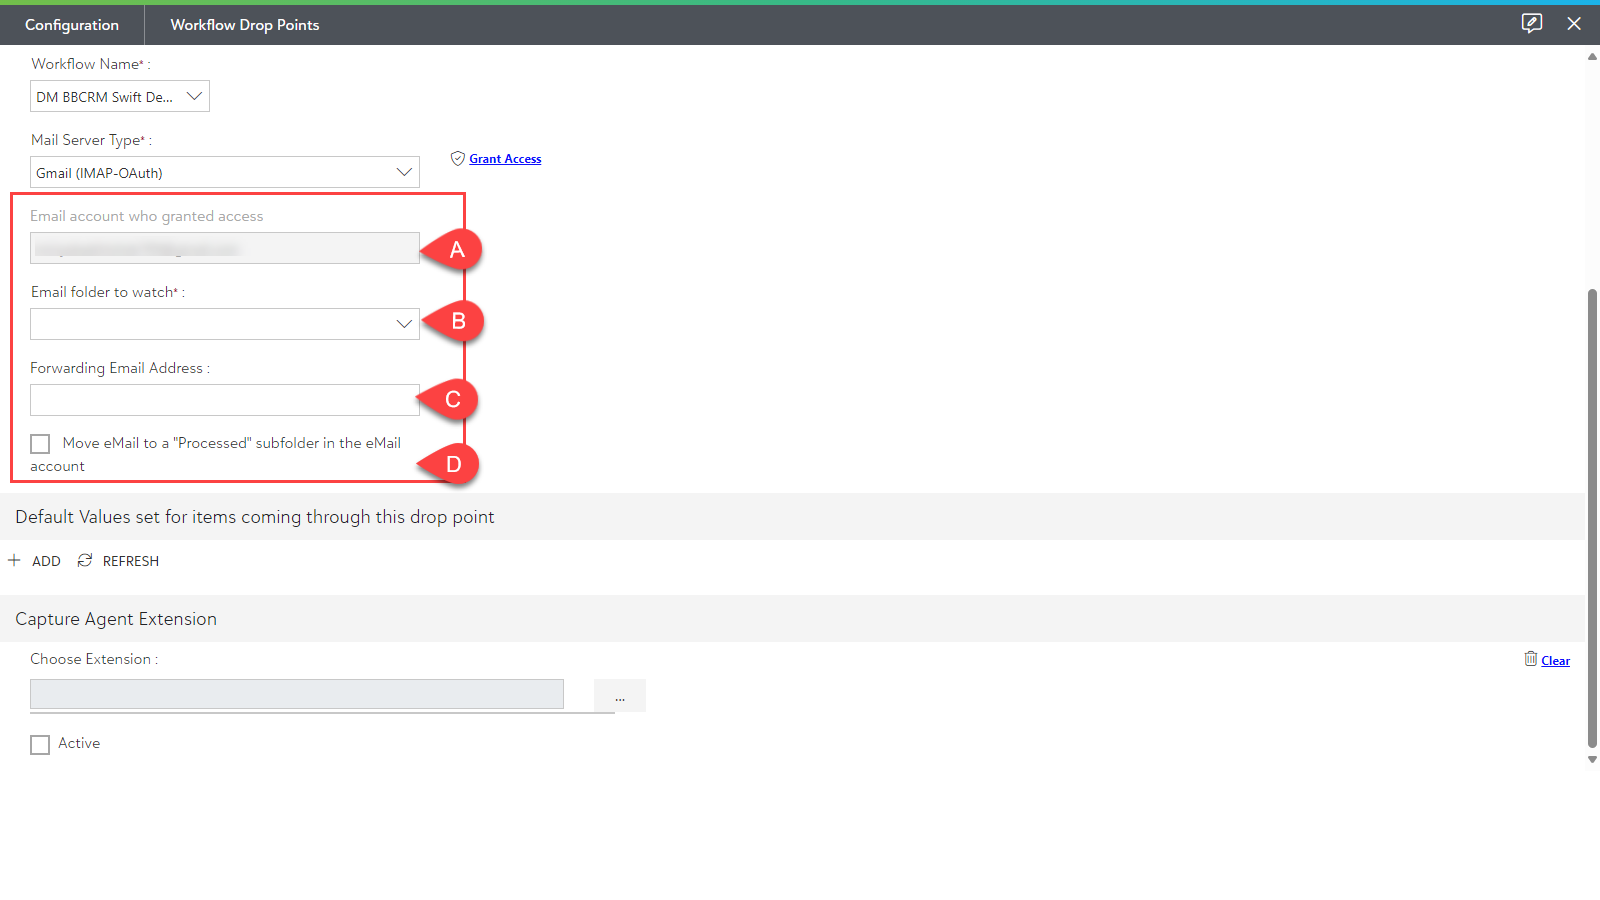
9) After the access is granted, the following fields should be filled:
a) The option "Email account who granted access" will be auto-filled based on the verified credentials.
b) Select the “Email Folder to watch" from the drop down list.
c) You can enter a “Forwarding Email Address” if you want the emails to be forwarded.
d) Check the box to enable the option to "Move eMail to a Processed subfolder in the eMail account”, if desired.
Note: In PaperSaveCloudTM, there is no way to create physical folders and save the processed emails as a backup in your local drive, so we highly recommend you select "Move eMail to a Processed subfolder in the eMail Account" mentioned under point #12(d) or provide a Forwarding Email Address mentioned under point #12(c) so that you can have a backup of the processed emails.
10) Now, click on the "Save Drop Point" in the upper right-hand corner as shown below.

11) A successful message "Droppoint added successfully "appears on the screen as shown below.