
Review and edit Profile fields
The Profile Fields panel appears on the right side of the Item Viewer. It displays different fields based on the document type or Workflow.
The field data can come from three sources:
- OCR (Optical Character Recognition) – Captured automatically from the document.
- ERP Lookup – Pulled from the ERP.
- Manual Entry – Entered by you.
When a field is captured using OCR, a confidence score (in %) is shown next to the field label. This score indicates how sure the OCR engine is about the value. A higher score means higher accuracy.
You should review and verify all values captured through OCR, especially those with low confidence scores. If the data is incorrect, you can:
- Edit the field manually, or
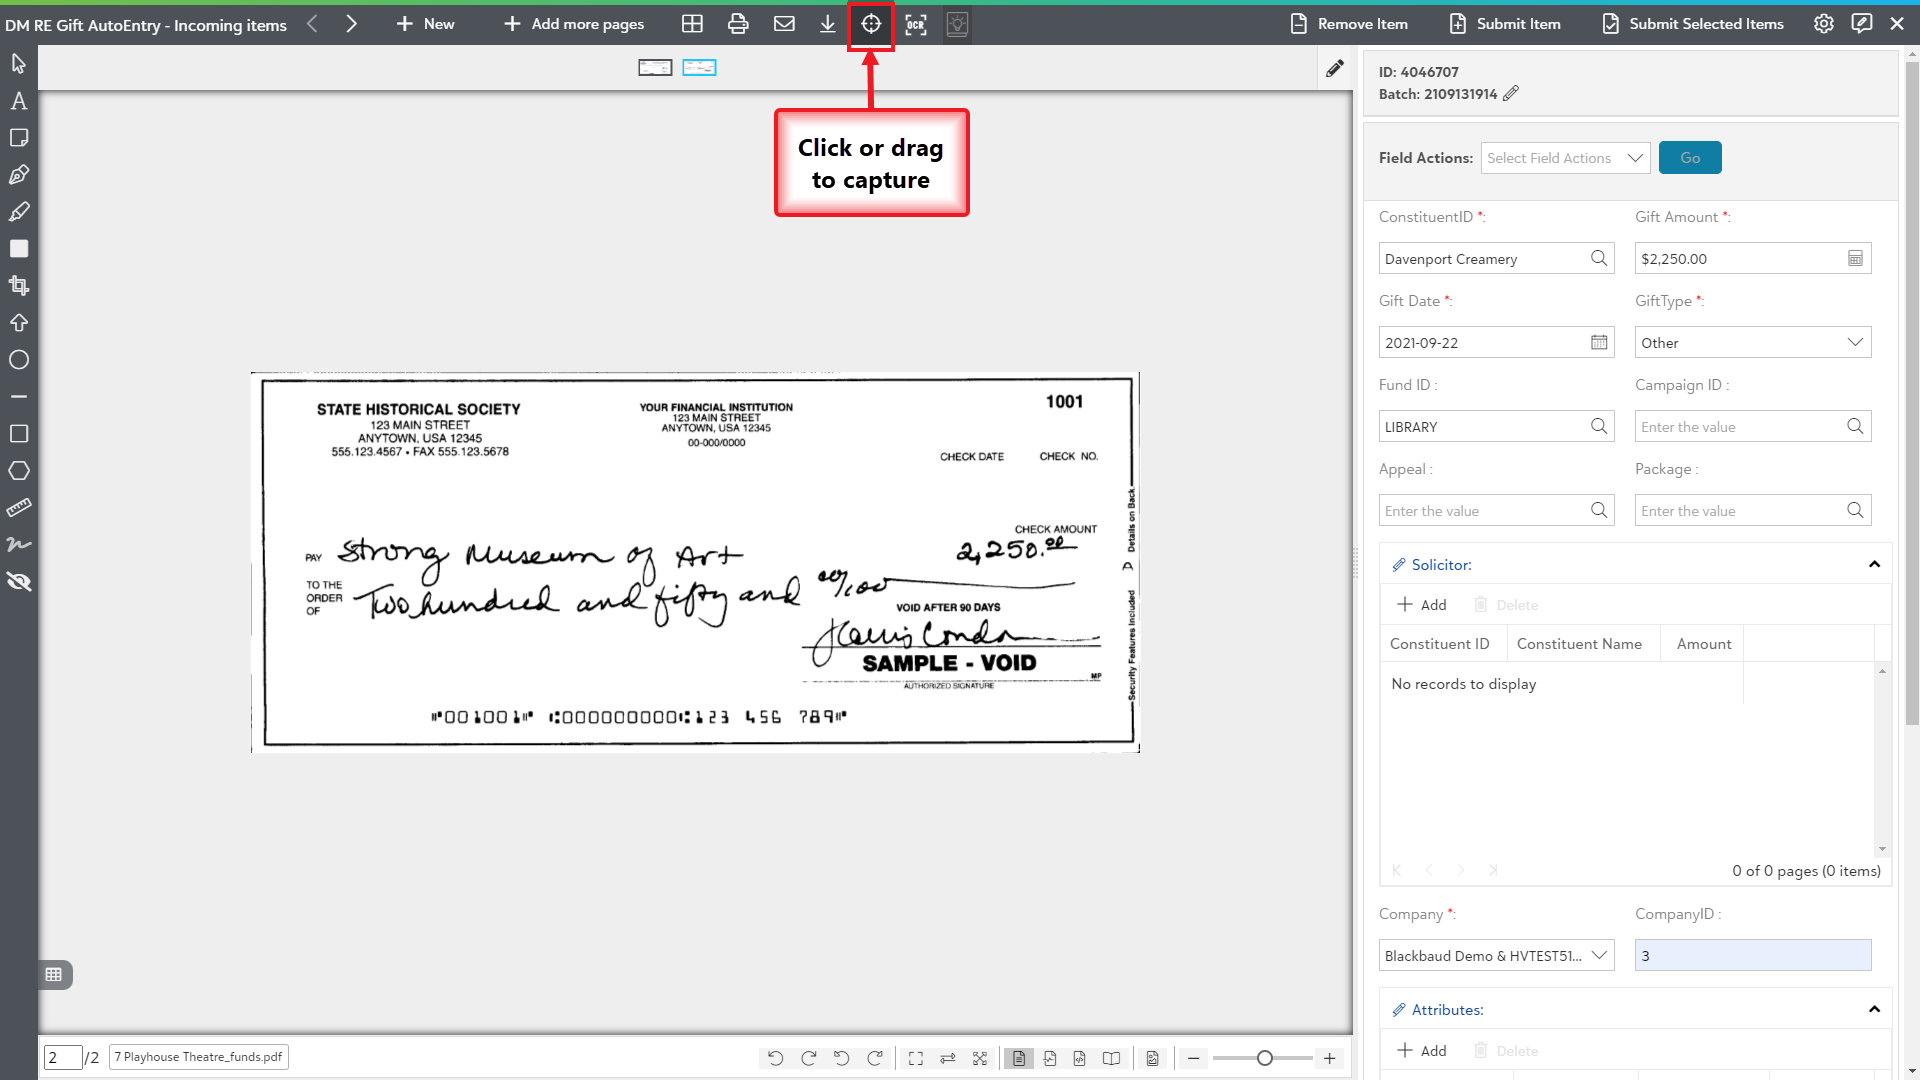
- Use the Drag to Capture tool to select and drop the correct value directly from the document.
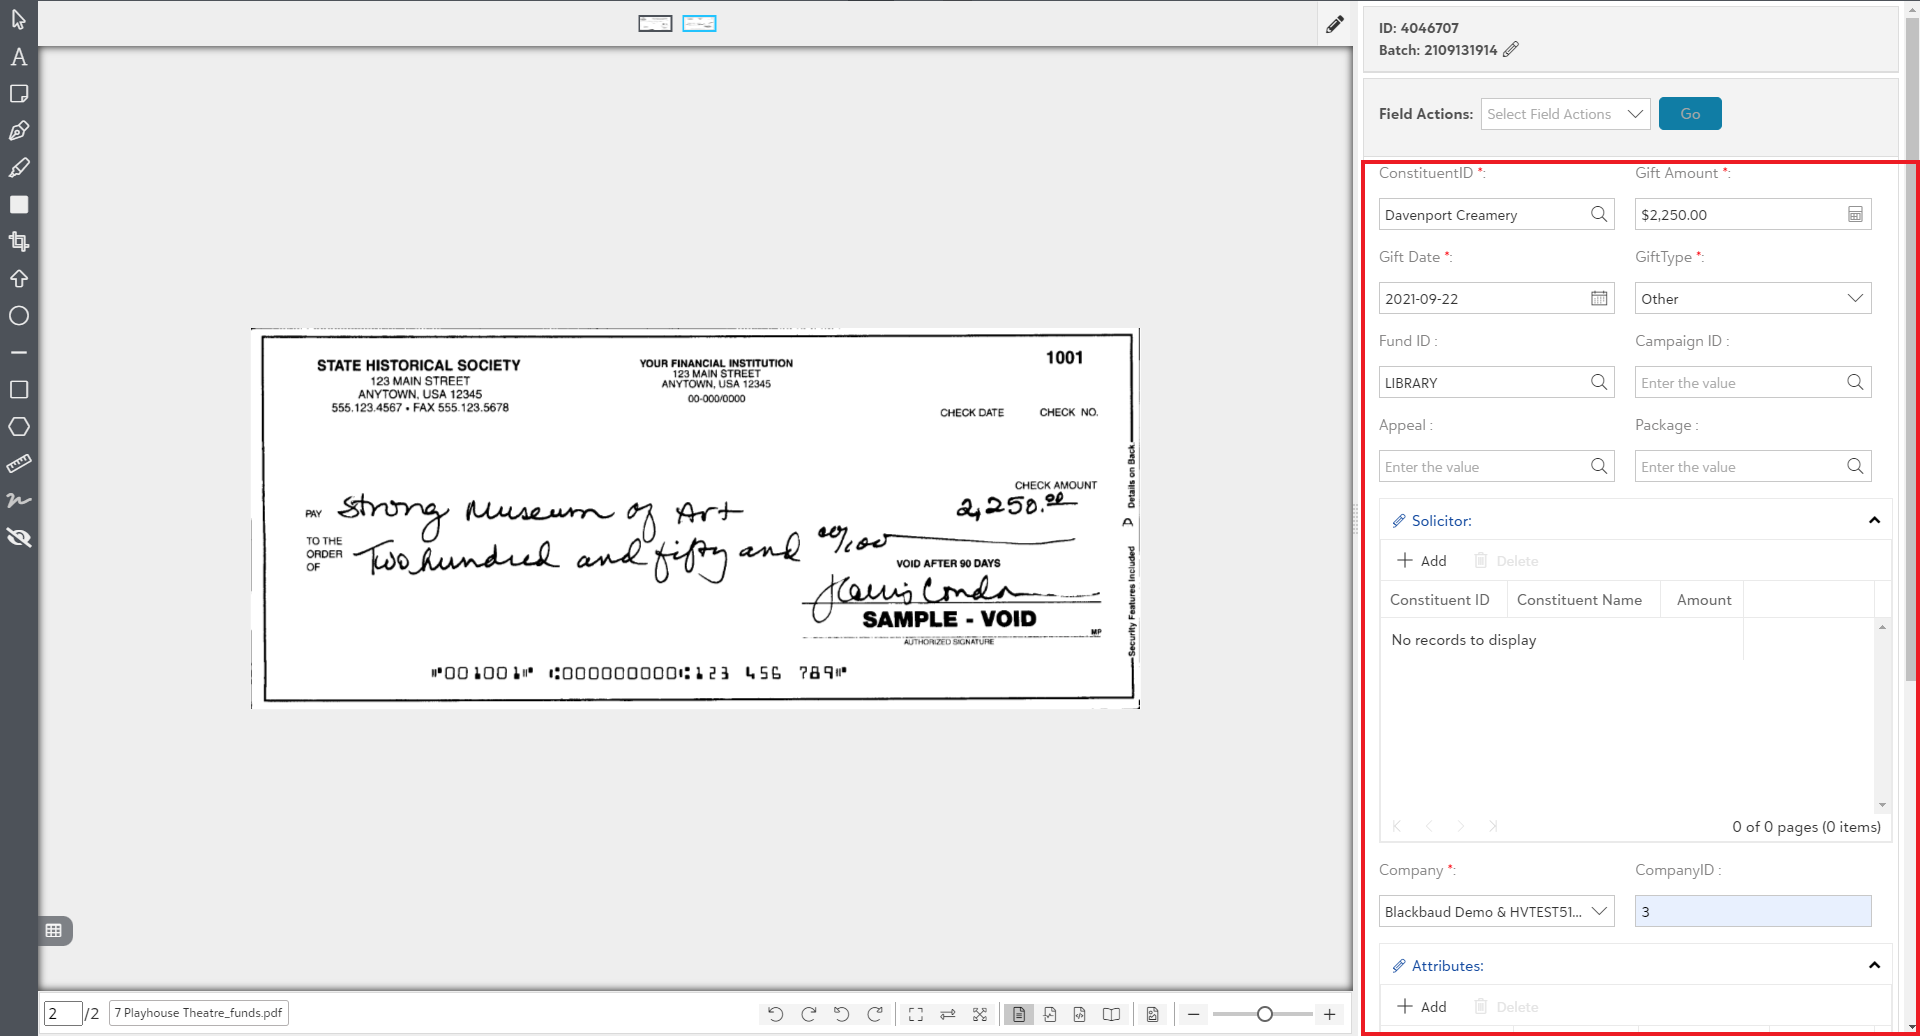
Note: The fields in the Workflow item field panel may vary based on the user's access rights across different Workflows. Generally, Workflow admin or super user are able to see all the Profile fields for a given Workflow item.
Drag to Capture Tool
The Drag to Capture tool is available on the image page toolbar in the Item Viewer.
You can:
- Hover over a word, drag it, and drop it into the correct field.
- Use the rubber band method to select multiple words and drag them together.
This helps correct OCR errors quickly and makes data entry faster and more accurate.
Note: This option is only applicable for document that went through the OCR process successfully.
Field Behavior:
The fields displayed may vary based on your workflow configuration and document type. Examples:
- A Date field includes a date picker. You can manually change the date if OCR captured it incorrectly.
- Vendor and PO Number fields can be looked up against the ERP database.
- For amount fields (e.g., Invoice Amount), you can use the calculator widget to perform quick calculations. If OCR captures the value, it will appear automatically.
Table Fields View Options
For table-type fields such as Line Items, Distribution, or Purchase Receipt Lines, you can choose between two display options:
- Card Style View
- Grid Style View
You can set your preferred default view in the Settings panel.
Tip: Click here to learn more from the video about Validate Profile Fields.
Nested Tables
In some cases, you may need to work with nested tables, where a table exists inside another table. This is useful for organizing complex data, such as PO line items with multiple GL distributions.
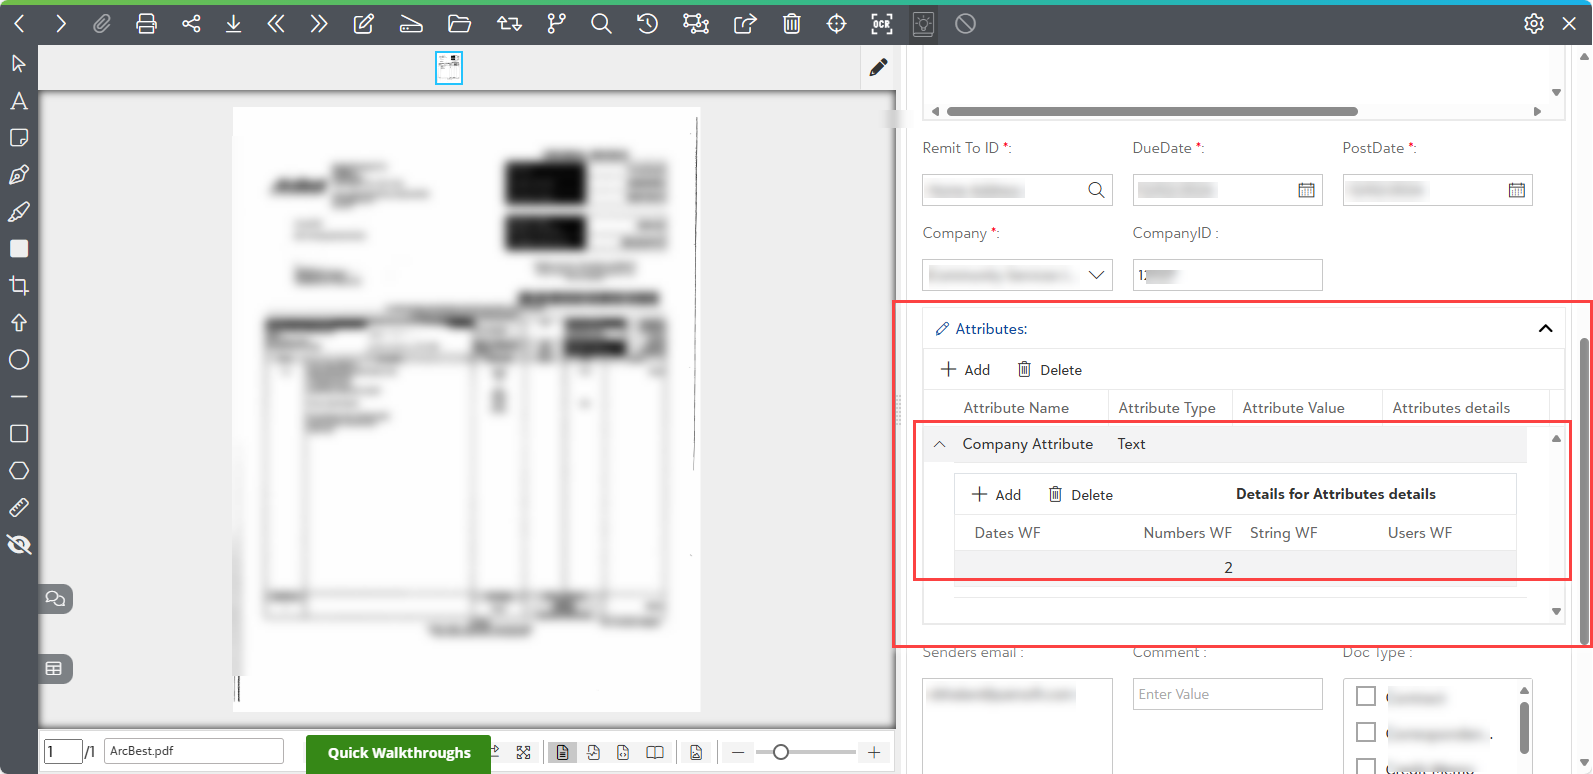
1) A nested table appears as a collapsible arrow inside a column of the parent table. Click the arrow icon to expand the nested table and view the related data.
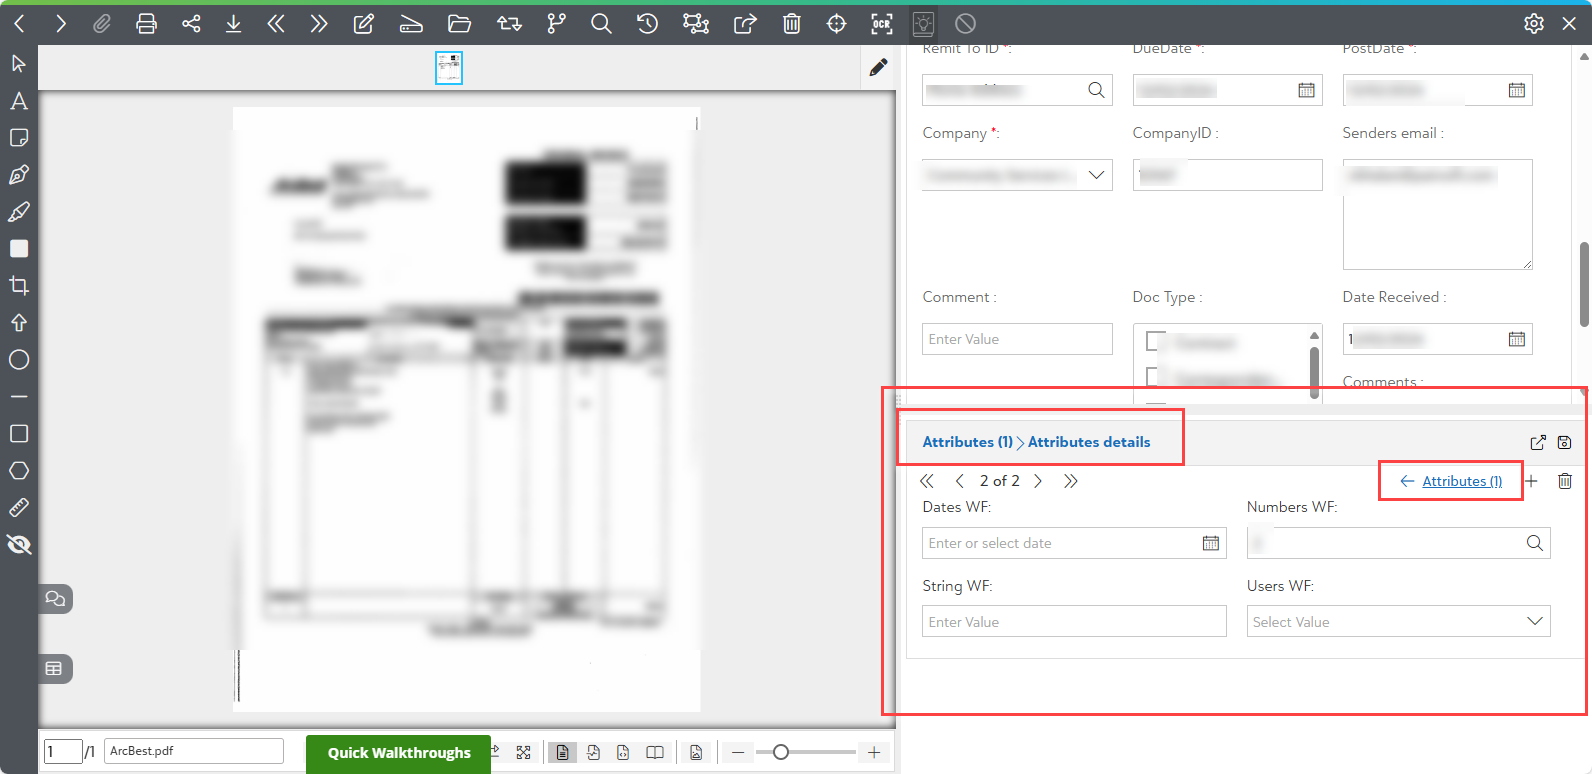
2) A breadcrumb at the top shows where you are in the table structure and lets you return to the parent table easily.
3) You can add, edit, or delete rows within the nested table just like a regular table.
4) If you delete a parent row, the related nested table data is also deleted.
Note: Nested tables support both Grid and Card view modes.
5) You can also open a nested table in a Pop-Out View to work with it in a larger window.
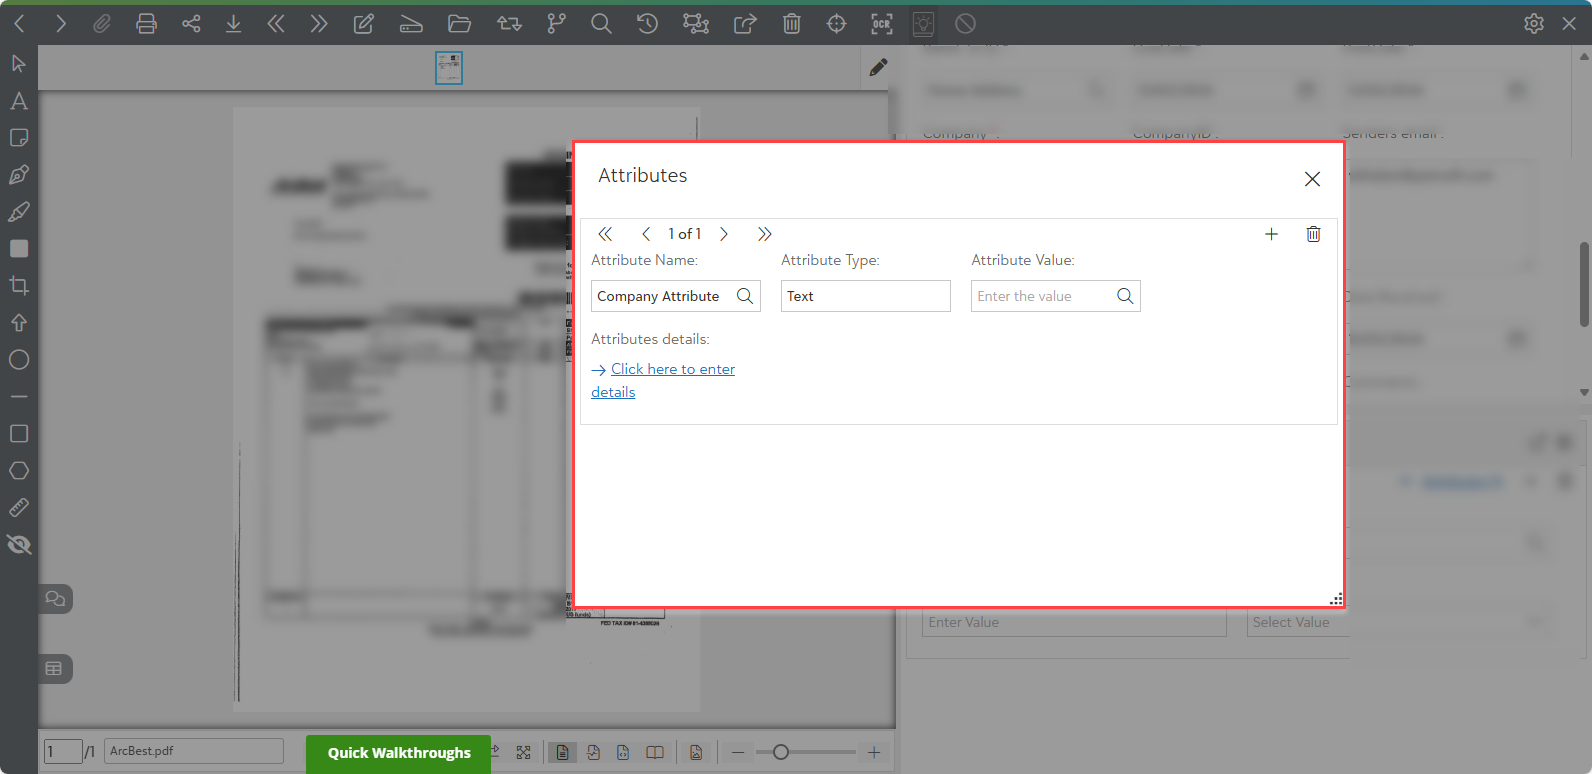
6) Once you exit the nested table, it will take you back to the parent table automatically.
Tip: Click here for a detailed walkthrough video about Nested Tables.