|
AutoEntryActivity |
  
|
| Show/Hide Hidden Text |
|
AutoEntryActivity |
|
| Show/Hide Hidden Text |
Writing an AutoEntryActivity
AutoEntryActivity is defined in the Workflow Design and works the same as AutoEntry Wizard but without any client interaction. This activity performs automatically when any document moves from an AutoEntryActivity defined workflow queue only to a Host Record.
1. From the design section, as mentioned before in "Designing a Workflow," drag the AutoEntryActivity from the toolbox and place it under an event after which you want to have an IF/Else condition as shown below:
 |
| Click on image to magnify/shrink |
2. The Properties of AutoEntryActivity will appear as shown below:
 |
| Click on image to magnify/shrink |
3. Enter the details for the various fields under Properties panel.
| □ | Context: |
| • | CompanyName: Click on |
| • | Configuration: Click on |
AutoEntry Activity Configuration window will open.
| • | Batch Name: Enter Batch Name in the available textbox. |
| • | Batch Posting Date: Select the Batch Posting Date. By default current date will be displayed. |
| • | Batch Checkbook ID: Enter Batch Chekbook ID. |
| • | Account Number: Enter Account Number in the available textbox. |
 |
| Click on image to magnify/shrink |
| □ | Failure: |
| • | EmailIDOnFailure: Click on |
| • | TargetOwnerOnFailure: Click on |
| • | TargetStepOnFailure: Select target step from the drop down list. |
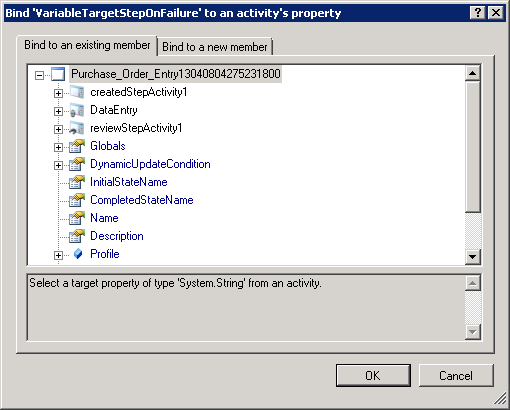
| • | VariableTargetStepOnFailure: Click on |
| □ | Success: |
| • | TargetOwnerOnSuccess: Click on |
| • | TargetStepOnSuccess: Select target step from the drop down list. |
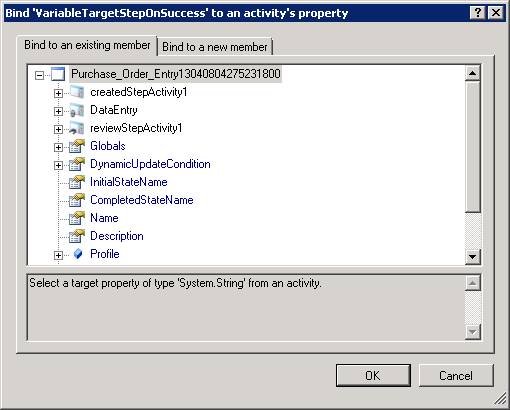
| • | VariableTargetStepOnSuccess: Click on |