|
Designing a Workflow |
  
|
| Show/Hide Hidden Text |
|
Designing a Workflow |
|
| Show/Hide Hidden Text |
You can think of a Workflow design as a blueprint. The Workflows you design will map the path for a specific Document Type according to the directions set forth. Workflows will contain different Queues, which will define specific processes within the Workflow.
It’s helpful to use a design document or planning document to help you map out Workflows beforehand. This will ultimately save time in planning the Document Types you’ll need to create and help eliminate redundancies in the design. There are various options available for designing Workflow, such as activities, events, templates, and conditions.
Basic steps for designing a Workflow:
You will first need to set an Initial State, which will serve as a starting point for items in the Workflow. In order to do this, first of all you need to drag and drop a State Activity into the design area and name the State (i.e., InitialState). Again, there can’t be spaces in the names for the States you create, so the name must omit the space or use an underscore between words. Once the Initial State has been named, right-click on it and select "Set as Initial State" from the menu.

Along with the Initial State, every Workflow must have a Completed State to serve as the ending point for items within the Workflow. This is created in the same way as the Initial State. Once a State is created and named, right-click to select "Set as Completed State" from the menu.

The States you choose to create between the Initial State and Completed State depend on the process for the Workflow. Each State represents a step in the process, external actions or events cause an item to change state, or transition a document from one step to another. Each State will contain different Events you can define for the process.
| • | Approve - This is an Approve activity, used to move the Workflow Item from one state of Workflow to other. |
| • | Reject - This is Reject activity, used to reject the Workflow Item and stop moving it to next state of the Workflow. |
| • | Delay Timeout – Sets an event to trigger automatically if something sits in the system for a set amount of time. |
| • | Associate – This is a non-actionable event. The only purpose is to define that you want items in that state to be available for association within the host program. |
There are items within the different States of the Workflow that each function as an event container/event driven activity (i.e., approve, reject, etc).
Tip: |
When creating a Workflow from scratch, it’s usually easier to create all the States before defining all the actions. |
The CreatedStateActivity, DataEntryStateActivity, and ReviewStateActivity are the three composite state activities provided for designing Workflow. These activities are a combination of various activities which provide other states like Approve, Reject, and so on. Using these activities will save you the time and effort required.
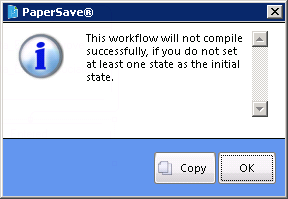
Once the Workflow is designed, you can compile the Workflow to check whether it is correct or not. To compile a Workflow, click Compile Workflow on the toolbar. If the Workflow is not compiled successfully, then the following message will appear.
If the Workflow is compiled successfully, then the following message will appear.
Note: |
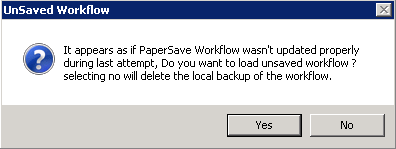
1. While starting PaperSave Settings, PaperSave detects whether a local copy of the Workflow design exists, and if it exists then it should prompt a message that a Workflow exists which may not have been saved last time. If you want to load the unsaved Workflow, click Yes, then the designed Workflow is loaded.
2. In case, the designed Workflow or modified Workflow template is not saved and you are trying to move to some other section of PaperSave, then you will be asked to save the current Workflow. To continue saving, click on Yes button and exit the window.
|