|
Integrating PaperSave With Student Information System |
  
|
|
Integrating PaperSave With Student Information System |
|
Integrating PaperSave with Student Information System
PaperSave offers out of the box, seamless integration with Microsoft Student Information System by automating the process of imaging, approving and retrieving source documents. PaperSave dynamically captures information from the supporting AX record or transaction and stores it as meta-data with the supporting document, allowing documents to be retrieved within a click or two from within the Student Information System window. Our method of integration eliminates the need for programming, lengthy training or costly setup time.
Key Benefits Include:
| • | Seamless SharePoint Integration |
| • | Single click access to add and retrieve documents |
| • | Harness the power with our Search Features |
| • | Seamlessly capture and associate AP checks |
| • | Automatically match Purchase Order and Sale Order documents |
| • | Route documents for approvals |
| • | Manage your full document lifecycle |
| • | Comprehensive capture solution for all your source documents |
PaperSave's integration with Student Information System is available on below 3 actions:
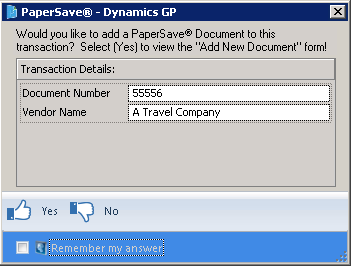
| • | Saving Records: PaperSave easily integrates into the Student Information System system by prompting you to add documents into the system and responding to events whenever a PaperSave enabled record is being used. This allows you to easily save documents and related records at the time a record is created. You should below prompt on saving a record, asking, if you would like add PaperSave Document to this transaction. Clicking on Yes button will open, PaperSave Add Document form and their you will have the ability to add document to PaperSave using various methods. |
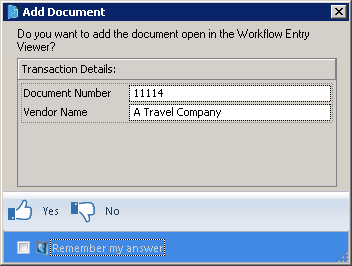
| • | Integrating with Records: The PaperSave Settings functionality provides options to enhance your work with scanned documents. In the newly improved Workflow Section, you can now electronically manage your inner-office paper flow. Additionally, you can also manage the access rights for a specific document and set appropriate security settings for specific users. You should see below prompt while working with the records in Student Information System, if PaperSave Workflow Entry Viewer Interface is kept opened. Click on Yes button, if you want to associate the document opened in Workflow Entry Viewer to the selected record in Student Information System. |
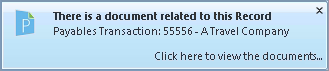
| • | Finding Records having PaperSave Documents: Locating documents associated to records is now easy with PaperSave. A PaperSave notification automatically pops-up alongside any record that has documents associated to it. Finding a document is easy, as the records and other documents associated to it are tagged. The easiest way to search through all records is to search globally. You should see below notification if a PaperSave document already exists for the selected record. You can click on the notification and view the document related to this record. |
PaperSave's Run Time Window:
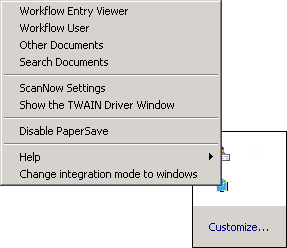
On PaperSave's Integration with Student Information System, PaperSave's Run Time Application will be displayed in the system Run Time. You should see PaperSave icon as displayed below. Right click on PaperSave Run time icon to open the Run Time menu. You should see options as displayed in the following image.
Figure 1: If the PaperSave's Integration mode is Windows:
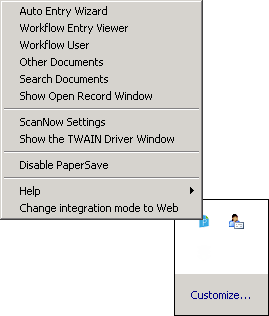
Figure 2: If the PaperSave's Integration mode is Web:
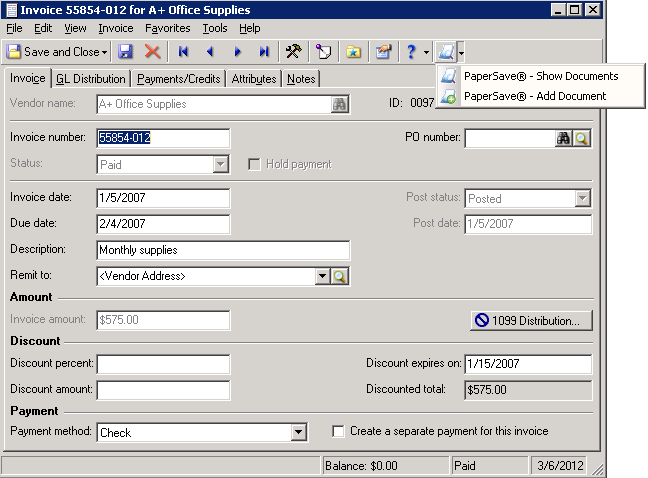
PaperSave's Menu within Host Application (here, Student Information System):
Open Host Application (here, Student Information System). Select the Transaction Type. Below displayed window will open. You should see PaperSave menu, that consists of PaperSave related options viz; PaperSave Add Documents, PaperSave Show Documents and PaperSave Show Associated Documents as displayed in following image.