|
ScanLater |
  
|
| Show/Hide Hidden Text |
|
ScanLater |
|
| Show/Hide Hidden Text |
Recommendations: |
We recommend you to use A4 Page size while printing barcode coversheet from PaperSave Web interface. Moreover, if you do not want to view Headers and Footers on the barcode coversheet, then please make sure to do the necessary settings from the respective browser.
|
To add documents to PaperSave using ScanLater method, you need to follow below mentioned steps:
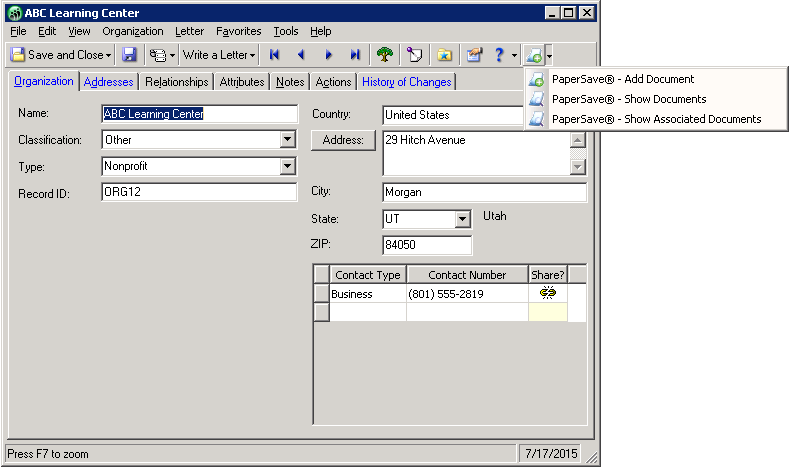
1. Open Host Application (here, Student Information System). Select the appropriate Transaction Type and related record to which you want to add the document. Expand PaperSave menu. Click PaperSave - Add Documents button as displayed below.
2. PaperSave Add New Document form will open as below. Click ScanLater option available in the toolbar.
 |
| Click on image to magnify/shrink |
3. As you will click ScanLater option, Printer dialog box will open. Select the Printer from the drop-down list and click OK. As you will OK, below displayed dialog box will open and ask you to generate coversheet. The Save as dialog box will open and ask you to save the barcode generated coversheet. You need to browse the path and save it. You can now see the barcode generated coversheet from the host as before.
4. You will be directed to Host Application window. Then click Show Document(s) option.
5. Document Explorer window will open. You can view the "Pending Document" in the list.
 |
| Click on image to magnify/shrink |
6. When you get the content pages of the barcode coversheet, take a print out copy of the barcode generated coversheet and place the coversheet on top of the content pages in order and then place it into your scanner and then start the DropPoint Processing Service and then the batch item will be processed and integrated directly to the Host Record.
Note: |
When you add a document using the ScanLater method, the Document Display area will show as "Pending Document." Once you have scanned the stack of documents to ScanLater, and the PaperSave DropPoint Processing Service processes the stack, then you can see the document from the Host Application record. |
When you select the normal document and pending document at the same time, the Open Selected button will be enabled. If only pending document is selected, the Open Selected button will not be enabled from the Document Explorer or Multi Document Explorer windows.