|
ScanLater |
  
|
| Show/Hide Hidden Text |
|
ScanLater |
|
| Show/Hide Hidden Text |
ScanLater:
ScanLater functionality allows users to scan documents in stacks. Thereafter, PaperSave will read the ScanLater barcode and automatically match the physical document to the corresponding record or transaction. The ScanLater acquisition method is chosen when the paper document needs to be related to a record. This allows you to identify which record to relate the document to, populate any Profile Fields for the Document Type selected, and then print a coversheet to a printer.
The printed coversheet will easily identify the User Name, Date, Transaction and Record data, along with any Profile Fields.
1. Open PaperSave Add Document user interface from any Host Application (here, Student Information System).
2. Click on ScanLater button available in the ribbon.
 |
| Click on image to magnify/shrink |
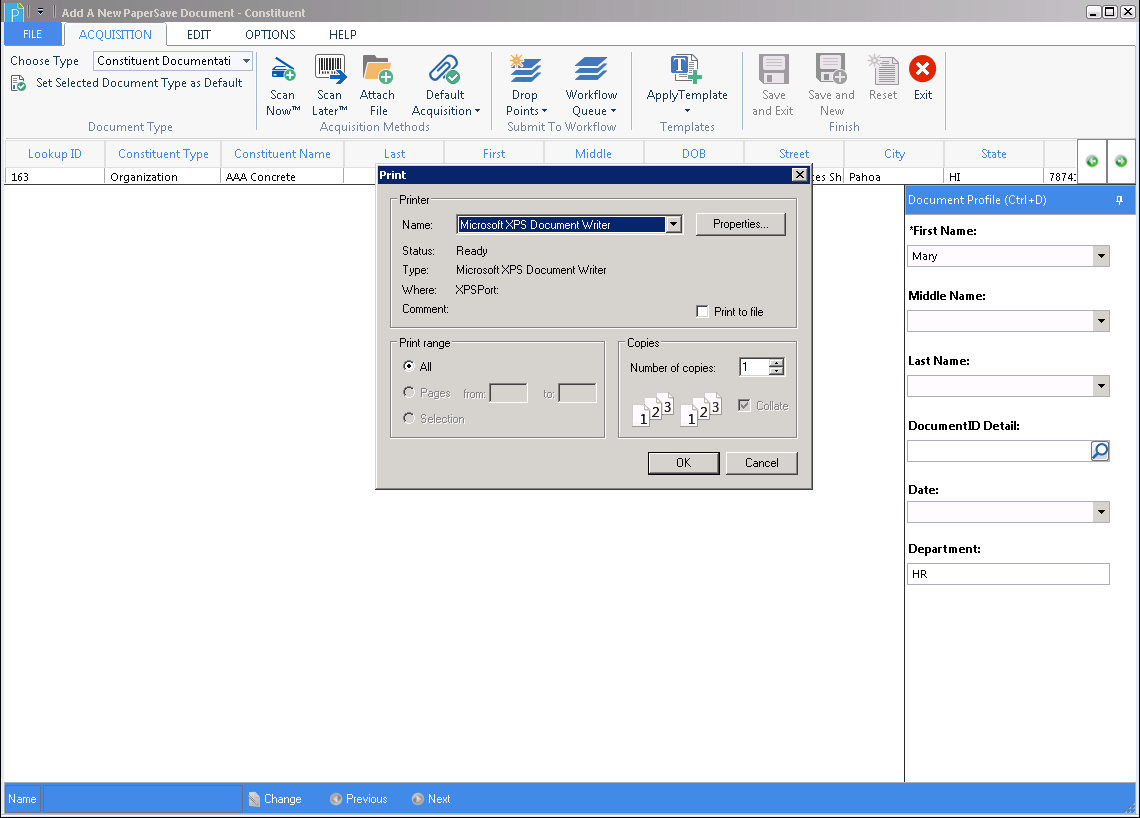
3. Print dialog box will open as displayed below. Select the printer and click on OK button.
4. PaperSave will print the Barcode and ask you to save the Barcode Coversheet at a desired location.
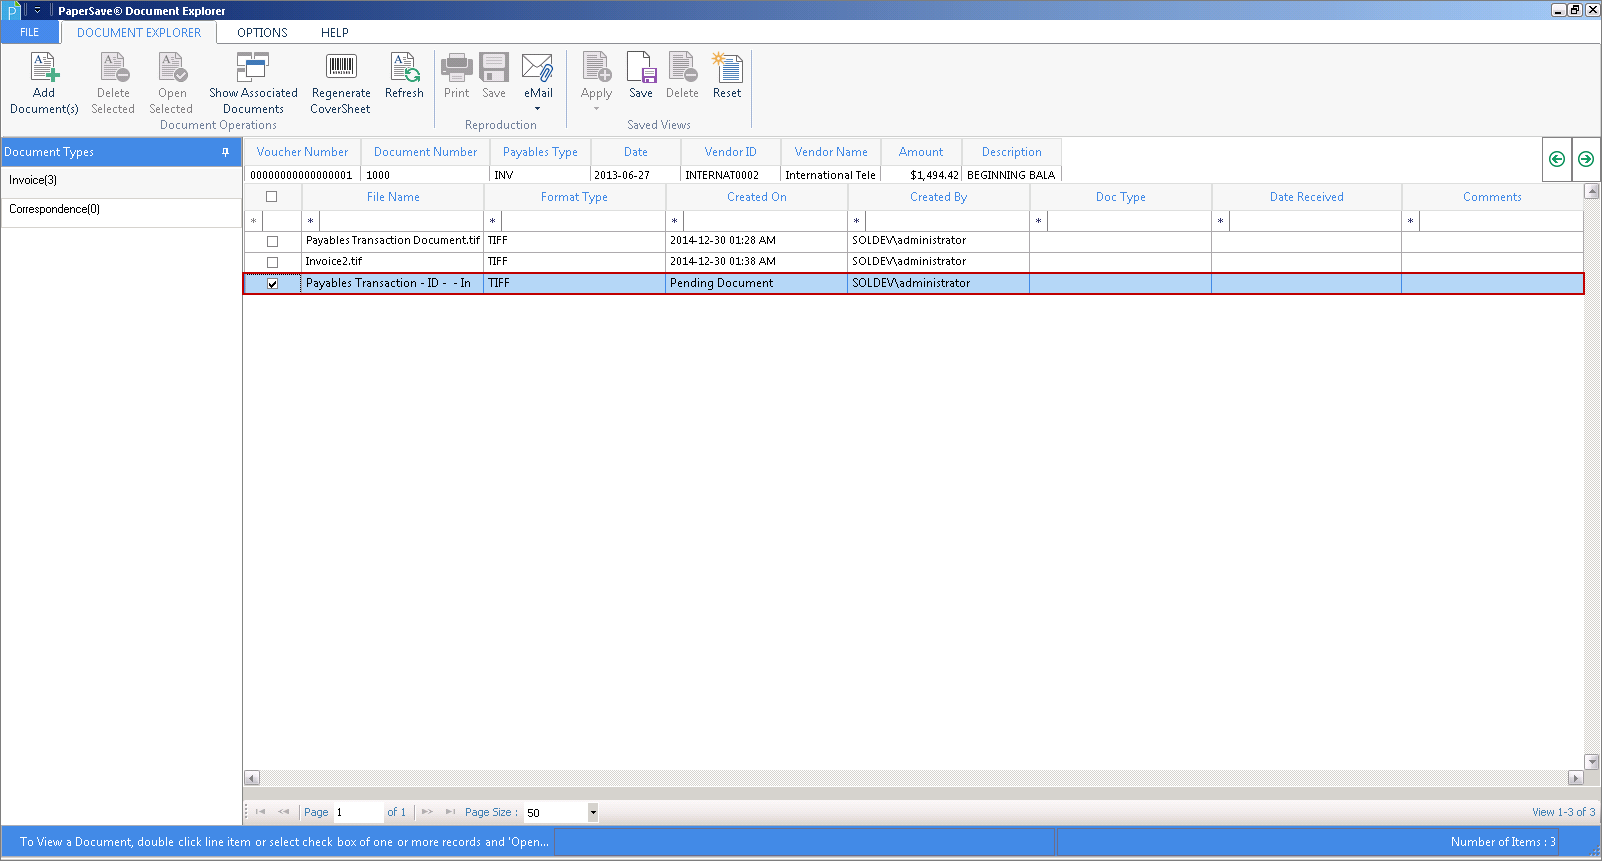
5. This document will be added to PaperSave as 'Pending Document'. You can view the pending document from Document Explorer user interface. Click on Show Documents button either from Host Application or PaperSave Desktop (PaperSave Record Browser) for the record to which you added document using ScanLater option.
6. Document Explorer window will open as displayed below. You should see the document with status as 'Pending Document' under Created On column.
Note: |
If you have selected the normal document and pending document at the same time, then Open Selected button will be enabled. But if only pending document is selected, then Open Selected button will not be enabled from the Document Explorer or Multi Document Explorer windows. |
7. When you get the content pages of the barcode coversheet, take a print out of the barcode generated coversheet and place the coversheet on top of the content pages in order and then place it into your scanner and then start the DropPoint Processing Service and then the batch item will be processed and integrated directly to the Host Record.
Note: |
When you add a document using the ScanLater method, the Document Display area will show as "Pending Document." Once you have scanned the stack of documents to ScanLater, and the PaperSave DropPoint Processing Service processes the stack, then you can see the document from the Host Application (here, Student Information System) record. |
Click here to know about Scanner Recommendations.