|
Understanding PaperSave Scan |
  
|
| Show/Hide Hidden Text |
|
Understanding PaperSave Scan |
|
| Show/Hide Hidden Text |
The steps to use PaperSave Scan are mentioned below:
1. Click on PaperSave Scan icon to open PaperSave Scan window as displayed below. Now to add a document using PaperSave Scan, click on Post To button.
 |
| Click on image to magnify/shrink |
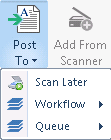
2. As you click on Post To button, you will be able to view three options viz, Scan Later, Queue and Workflow as displayed below:
| • | Scan Later: This option allows you adding documents directly to Scan Later Directory/ Watch Folder. Click here to know about Scanner Recommendation. |
| • | Queue: This option allows you to select the Queue for which you want to add a document. (For Workflow 1.0 using Queues) |
Note: |
||||||
Here the user will be able to view only those Workflow Queues for which either of the below mentioned three conditions gets satisfied:
|
| • | Workflow: This option allows you to select the Workflow for which you want to add a document. (For Workflow 2.0 using Drop Points) |
Note: |
||||||
Here the user will be able to view only those Workflows for which either of the below mentioned three conditions gets satisfied:
|
3. After selecting appropriate Post To option, you can add the documents using two options viz. Add from Scanner and Add from File.
 |
| Click on image to magnify/shrink |
4. Adding document using Add from File:
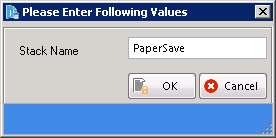
| • | Click on Add From File option. A new window will open where you need to enter the name of the Stack in the available textbox as displayed below. Then click on OK button. As you click on OK button, select document window will be displayed. You need to select the files from the appropriate path. |
Note: |
All the documents added under one Stack will be displayed by that Stack Name only. |
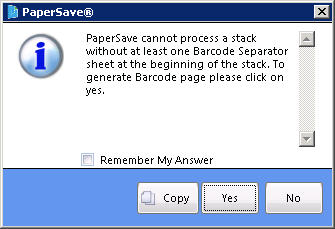
| • | You will be able to view below displayed message if Barcode Page is not generated for the stack. Here you need to click on Yes button to generate the Barcode Page. |
| • | You can view the documents gets successfully added. You need to fill the Profile Field values available in the right panel of the screen to process the stack. After that you need to submit the documents by clicking on Submit option. Incase you want to remove the selected stack, in that case click on Remove Selected button. |
Note: |
Profile Field values will be automatically filled if Profile Field Template is created for the respective Drop point for which the items are added (Applicable only for Workflow 2.0). |
 |
| Click on image to magnify/shrink |
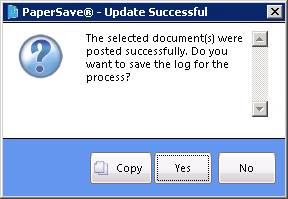
| • | Once the documents are successfully posted, below displayed message will open and you can click Yes if you want to save the log for the process. |
5. Adding documents using Add from Scanner option:
| • | Click on Add From Scanner option. System will ask you to enter the Stack name if no stack exists. Enter the name and click on OK button. |

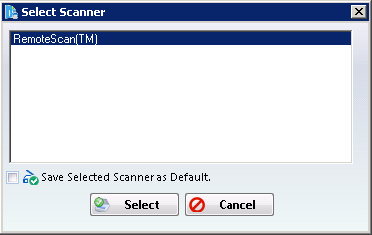
| • | Select Scanner window will open. You need to select the scanner and click on Select button. Once the scanner is selected, system will scan the documents and add them to PaperSave Scan window. And then you can post the stack by clicking on Post button. |
6. Adding Documents using Add From File or Add From Scanner if Stack already exists:
| • | While adding documents using Add From File or Add From Scanner option, if stack already exist and you try to add another stack, then you will be able to view Insert Stack drop-down list with options viz, Before Selected Item, After Selected Item and At the End. You can select the appropriate option and click on OK button. |

7. Add Separator option is used when you want to split a file into two or more files by creating a new barcode coversheet. By using this option you can create a new barcode coversheet before or after the selected thumbnails page of the document. This option is also available by right-clicking on the selected thumbnail page of the document.
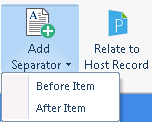
| • | Adding Separator using Add Separator button: Select the page of the document in thumbnails and click on Add Separator button. You can add a separator between two items using Before Item or After Item option as displayed in below screen. |
Note: |
You can also add a separator before and after for the ScanFirst Queue. |
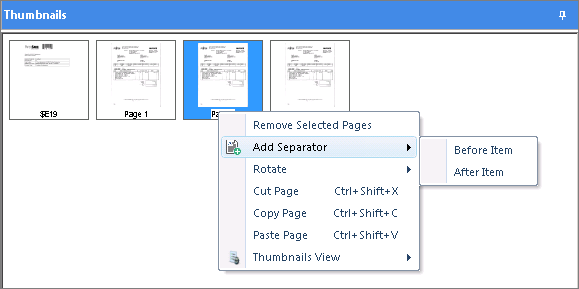
| • | Adding Separator by right clicking on Thumbnail page: You need to right click on the thumbnail page and you will be able to view below displayed screen. |
| • | Remove Selected Pages: Select this option to remove the selected page. |
| • | Add Separator: Select this option to add separator before or after the selected item respectively. |
| • | Rotate: Select this option to rotate the selected page either left or right. |
| • | Cut page: Select this option to cut the selected page. |
| • | Copy Page: Select this option to copy the selected page. |
| • | Paste page: Select this option to paste the copied page. |
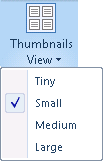
| • | Thumbnails View: Select this option to set the thumbnail view as Tiny, Small, Medium or Large as per your desire. |
Note: |
||||||||||
Note:
|
This is how a new separator sheet will be created before/after the selected thumbnail page. A barcode coversheet will be generated for Recapture. You can post the sheet to a BSS ScanLater folder and you will be able to see it in a Host Record.
8. Relate to Host Record: This option is used to attach the documents to a Host Record. This is useful when you want to attach an entire document to single or multiple Host Records or workflow queues. To attach a document to Host Record, you need to follow below mentioned steps:
| • | Select the document to be attached. |
| • | Click on Relate to Host Record button on the toolbar. |
| • | Choose the Records to associate to window will be displayed. From here the steps that need to be followed are same as External Saving. Click here to know more about External Saving. |
 |
| Click on image to magnify/shrink |
9. Thumbnails View option gives you the facility to set the view of thumbnail as per your choice. There are 4 options available in the drop down list viz. Tiny, Small, Medium and Large.