| Show/Hide Hidden Text |
Note: |
||||
|
To install the PaperSave Application Server for Blackbaud CRM on the clean machine, follow the steps below:
1. Download PaperSave For BBeCRM.iso from FTP. Once the file is downloaded, you need to verify if the .iso setup file is blocked.
You will be able to view PaperSave For BBeCRM icon as displayed below. Now mount the .iso file with Virtual CloneDrive by either double clicking on the file or by right clicking on the file and selecting appropriate option.

2. Now go to My Computer, you will be able to view PaperSave for BB icon as displayed below. Double click on it to run the ISO.
3. Below displayed window will open. To run the setup, click Run Setup for: Blackbaud Enterprise CRM as shown below.
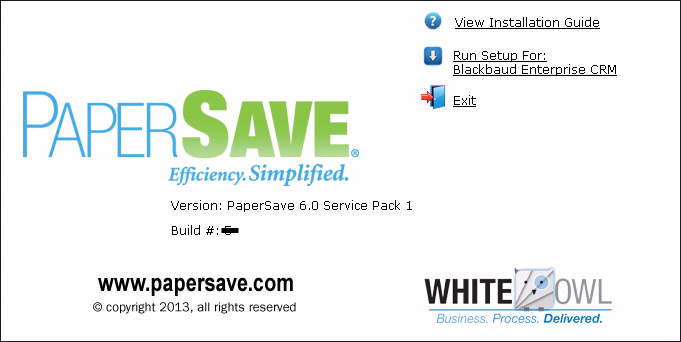
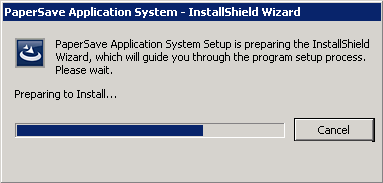
4. Wait till the installation preparation gets completed
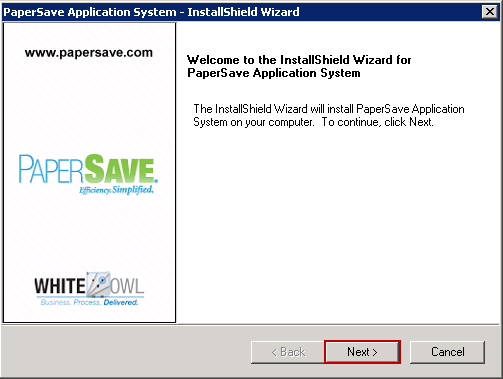
5. Welcome Screen will open as displayed below. Click Next to continue.
Note: |
MS Patch(x86) is an essential component, required before installing PaperSave. If this component is missing, installer will prompt a window asking you to install this required component before proceeding with PaperSave installation. Click on Install to install MS Patch (x86). On successful installation of this component, PaperSave Welcome wizard will open as follows. |
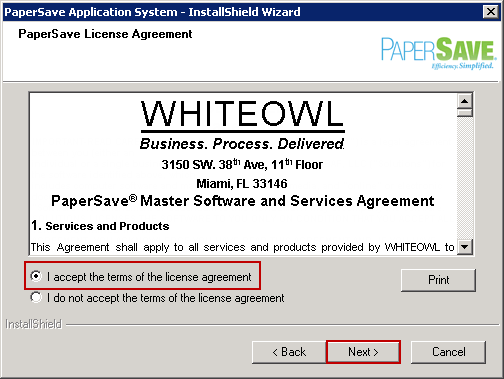
6. Then PaperSave License Agreement will be displayed. Select I accept the terms of the License agreement to accept the license agreement and click Next to continue.
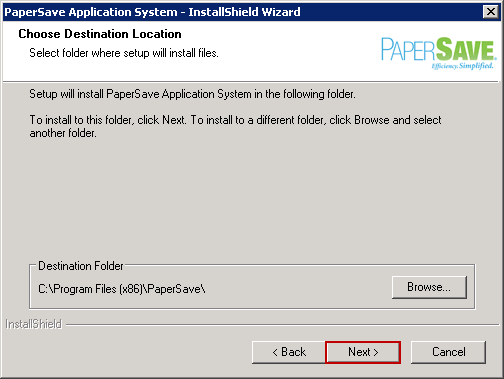
7. Default Destination Folder will be displayed. To change the destination folder, click Browse. Then click Next.
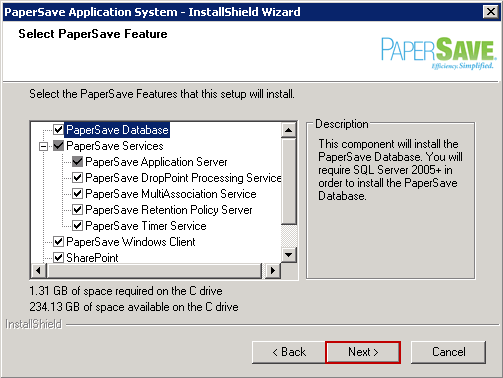
8. Select the PaperSave features that will be installed with this setup and click Next.
Note: |
||||
|
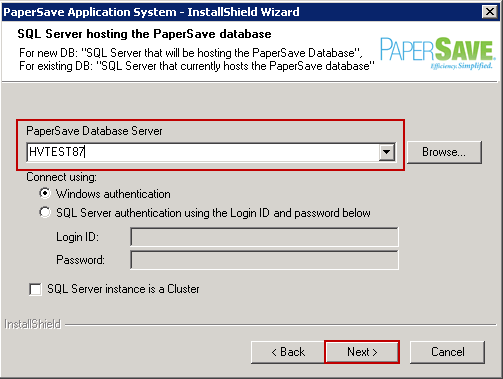
9. Now select PaperSave Database Server name by clicking Browse. You can select SQL Server authentication using the Login ID and Password option and enter the Login ID and Password in the available textbox. If your SQL server is on a cluster, check SQL Server instance is a Cluster check box. Click Next to continue.
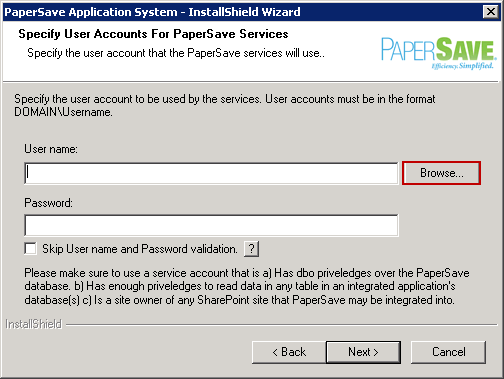
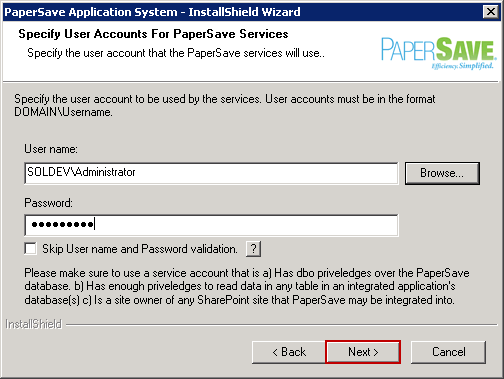
10. Now you need to specify User Account details for PaperSave Web. To select User Name, click Browse. To select the User Name, click on Browse button. You can select Skip User Name and Password validation check-box if you want to proceed further without entering User name and Password. Click on '?' icon to know on what condition you can skip this validation.
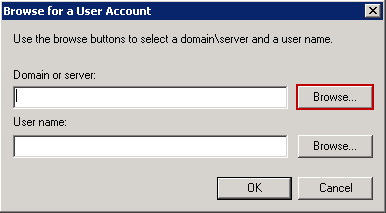
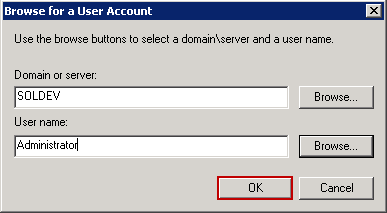
11. Browse for User Account window will open. Now to select the Domain or Server Name, click Browse.
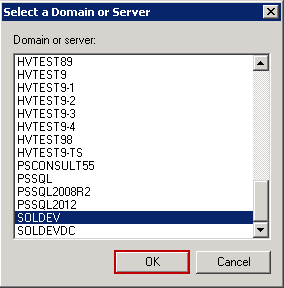
12. Select a Domain or Server window will open as displayed below. Select Domain or Server from the available list and click OK.
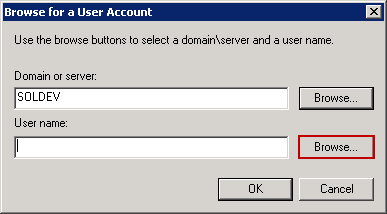
13. Selected Domain or Server name will be displayed in the respective textbox. Now click Browse to select User Name.
14. Select a User Name window will open as displayed below. Select the appropriate User and click OK.
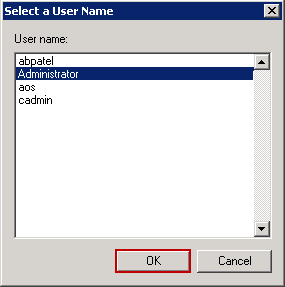
15. Selected User Name will be displayed under respective text box. Click OK to exit the window.
16. Now enter the Password in the respective textbox and click Next to continue.
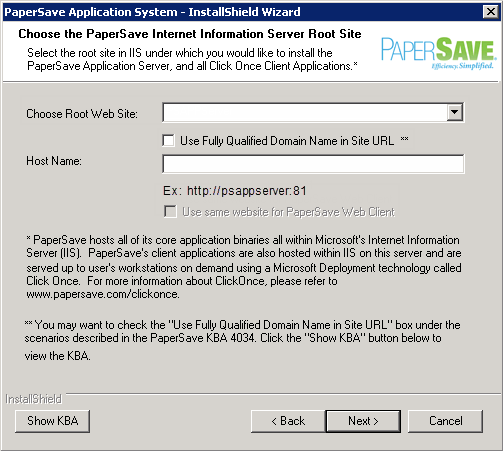
17. Select Root Web Site from the drop-down list. Checking Use Fully Qualified Domain Name in Site URL checkbox will add a Host Header Entry (if that host header with fully qualified domain name does not exist) in the bindings of the selected Root Website from the drop-down list. Moreover, to know the scenarios under which this option should be selected, you need to visit PaperSave KBA 4034 by clicking Show KBA button. Host Name would be automatically available in the text-box once you select Root Web Site. You can select 'Use same website for PaperSave Web Client' checkbox if you wish to install PaperSave Web Client on the same website where PaperSave Application Server will be installed.
Then click Next to continue.
Note: |
||||
|
| • | You should see below window only if you have chose to install PaperSave Web Client on a separate Web Site in the previous step. Select the Root Web Site from the drop-down list where you wish to install PaperSave Web Client and click Next to continue. |

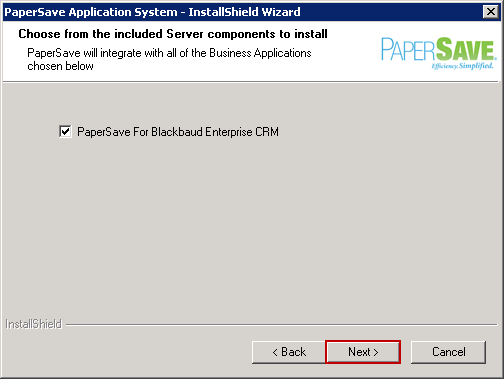
18. Select the server components and click Next to continue.
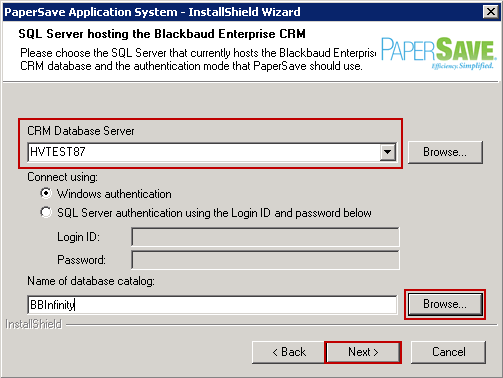
19. Select the Database Server Name where Blackbaud CRM is installed by clicking Browse. Then click Browse to select the Database Catalog name. Click Next to continue.
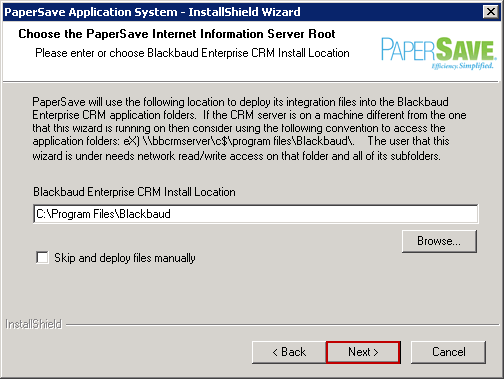
20. Default BBeCRM install location will be available in the respective textbox. To change the location click Browse. Click Next to continue.
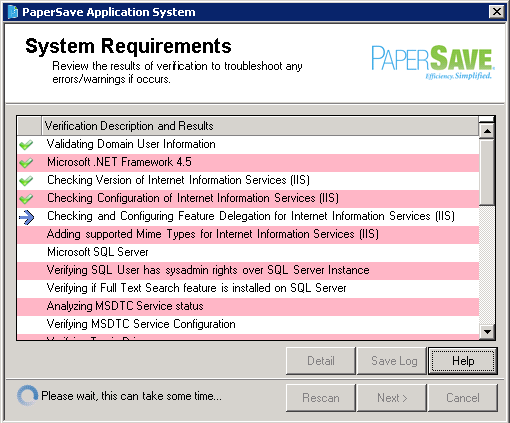
21. You need to wait till the validation of System Requirements gets completed.
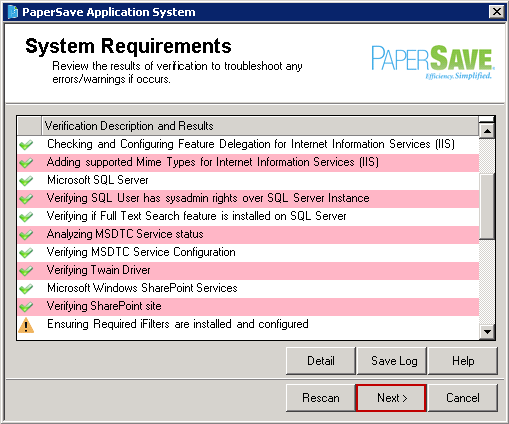
22. Once all the requirements passes, you can view a Tick icon against each requirement. Incase if any verification fails, you can select the Detail option to see more information regarding the verification status. You can click on Rescan button to rescan. Thereafter click on Next button.
Note: |
||||||||
PSPreReqScanResults<CurrentDateTimeInNumber>.log" Example: "PSPreReqScanResults240815110505.log"
|
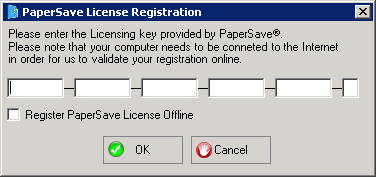
23. PaperSave License Registration window will be displayed. The registration process can be performed online if the PaperSave server has an active internet connection, or offline if the server does not have an active internet connection.
| • | For active internet connection, enter the key and click on OK button. |
| • | For inactive internet connection, select the Register PaperSave License Offline check box. A file named “PaperSaveApplicationSystem.dlsc” will be copied to the destination folder previously selected for the PaperSave software. Please send that file to the PaperSave Team so that they can sign the file, and when the signed file is sent back to you, copy that file to the destination folder previously selected for the PaperSave software, overwriting the existing file. The signed file will be 5kb in size; the unsigned file will be 2kb in size. |
After entering the PaperSave License Key, click OK.
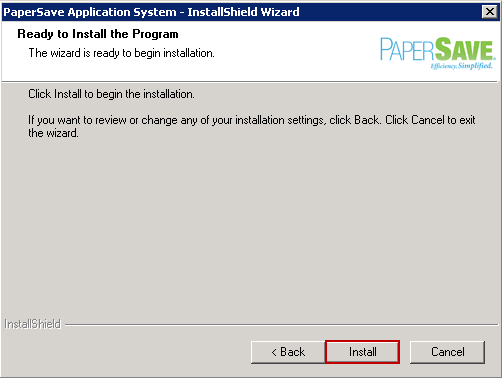
24. Click Install to start the installation.
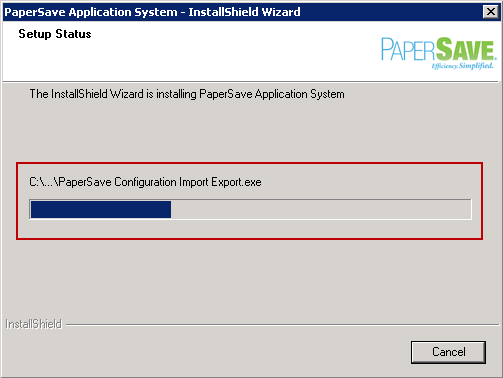
25. Wait till the installation gets completed.
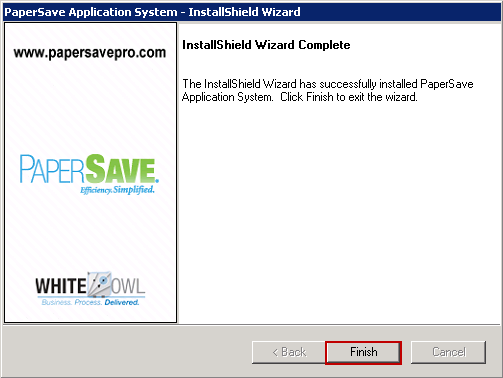
26. Once the installation is successfully completed, below displayed window will open. Click Finish to exit the window.
27. As soon as you click on Finish button, PaperSave Start.aspx page will open. PaperSave Start Page will launch with the following URL Applications: http://servername:port/PaperSave Application Server/Start.aspx. All of the PaperSave Client Components, Settings, PaperSave Workflow and PaperSave Scan as shown below can be installed from the PaperSave Application System Start Page. On successful completion of the installation process, a shortcut icon for PaperSave for BBCRM Configuration Utility will be created on the desktop. Please click here to know more on the installation steps of the utility.
Note: |
It is recommended to open PaperSave Application URL in Internet Explorer only and then install PaperSave Click Ones, because PaperSave does not support any other Browser. However, you are allowed to use Chrome or Mozilla with the use of some plugin that supports PaperSave Click Once Application. |